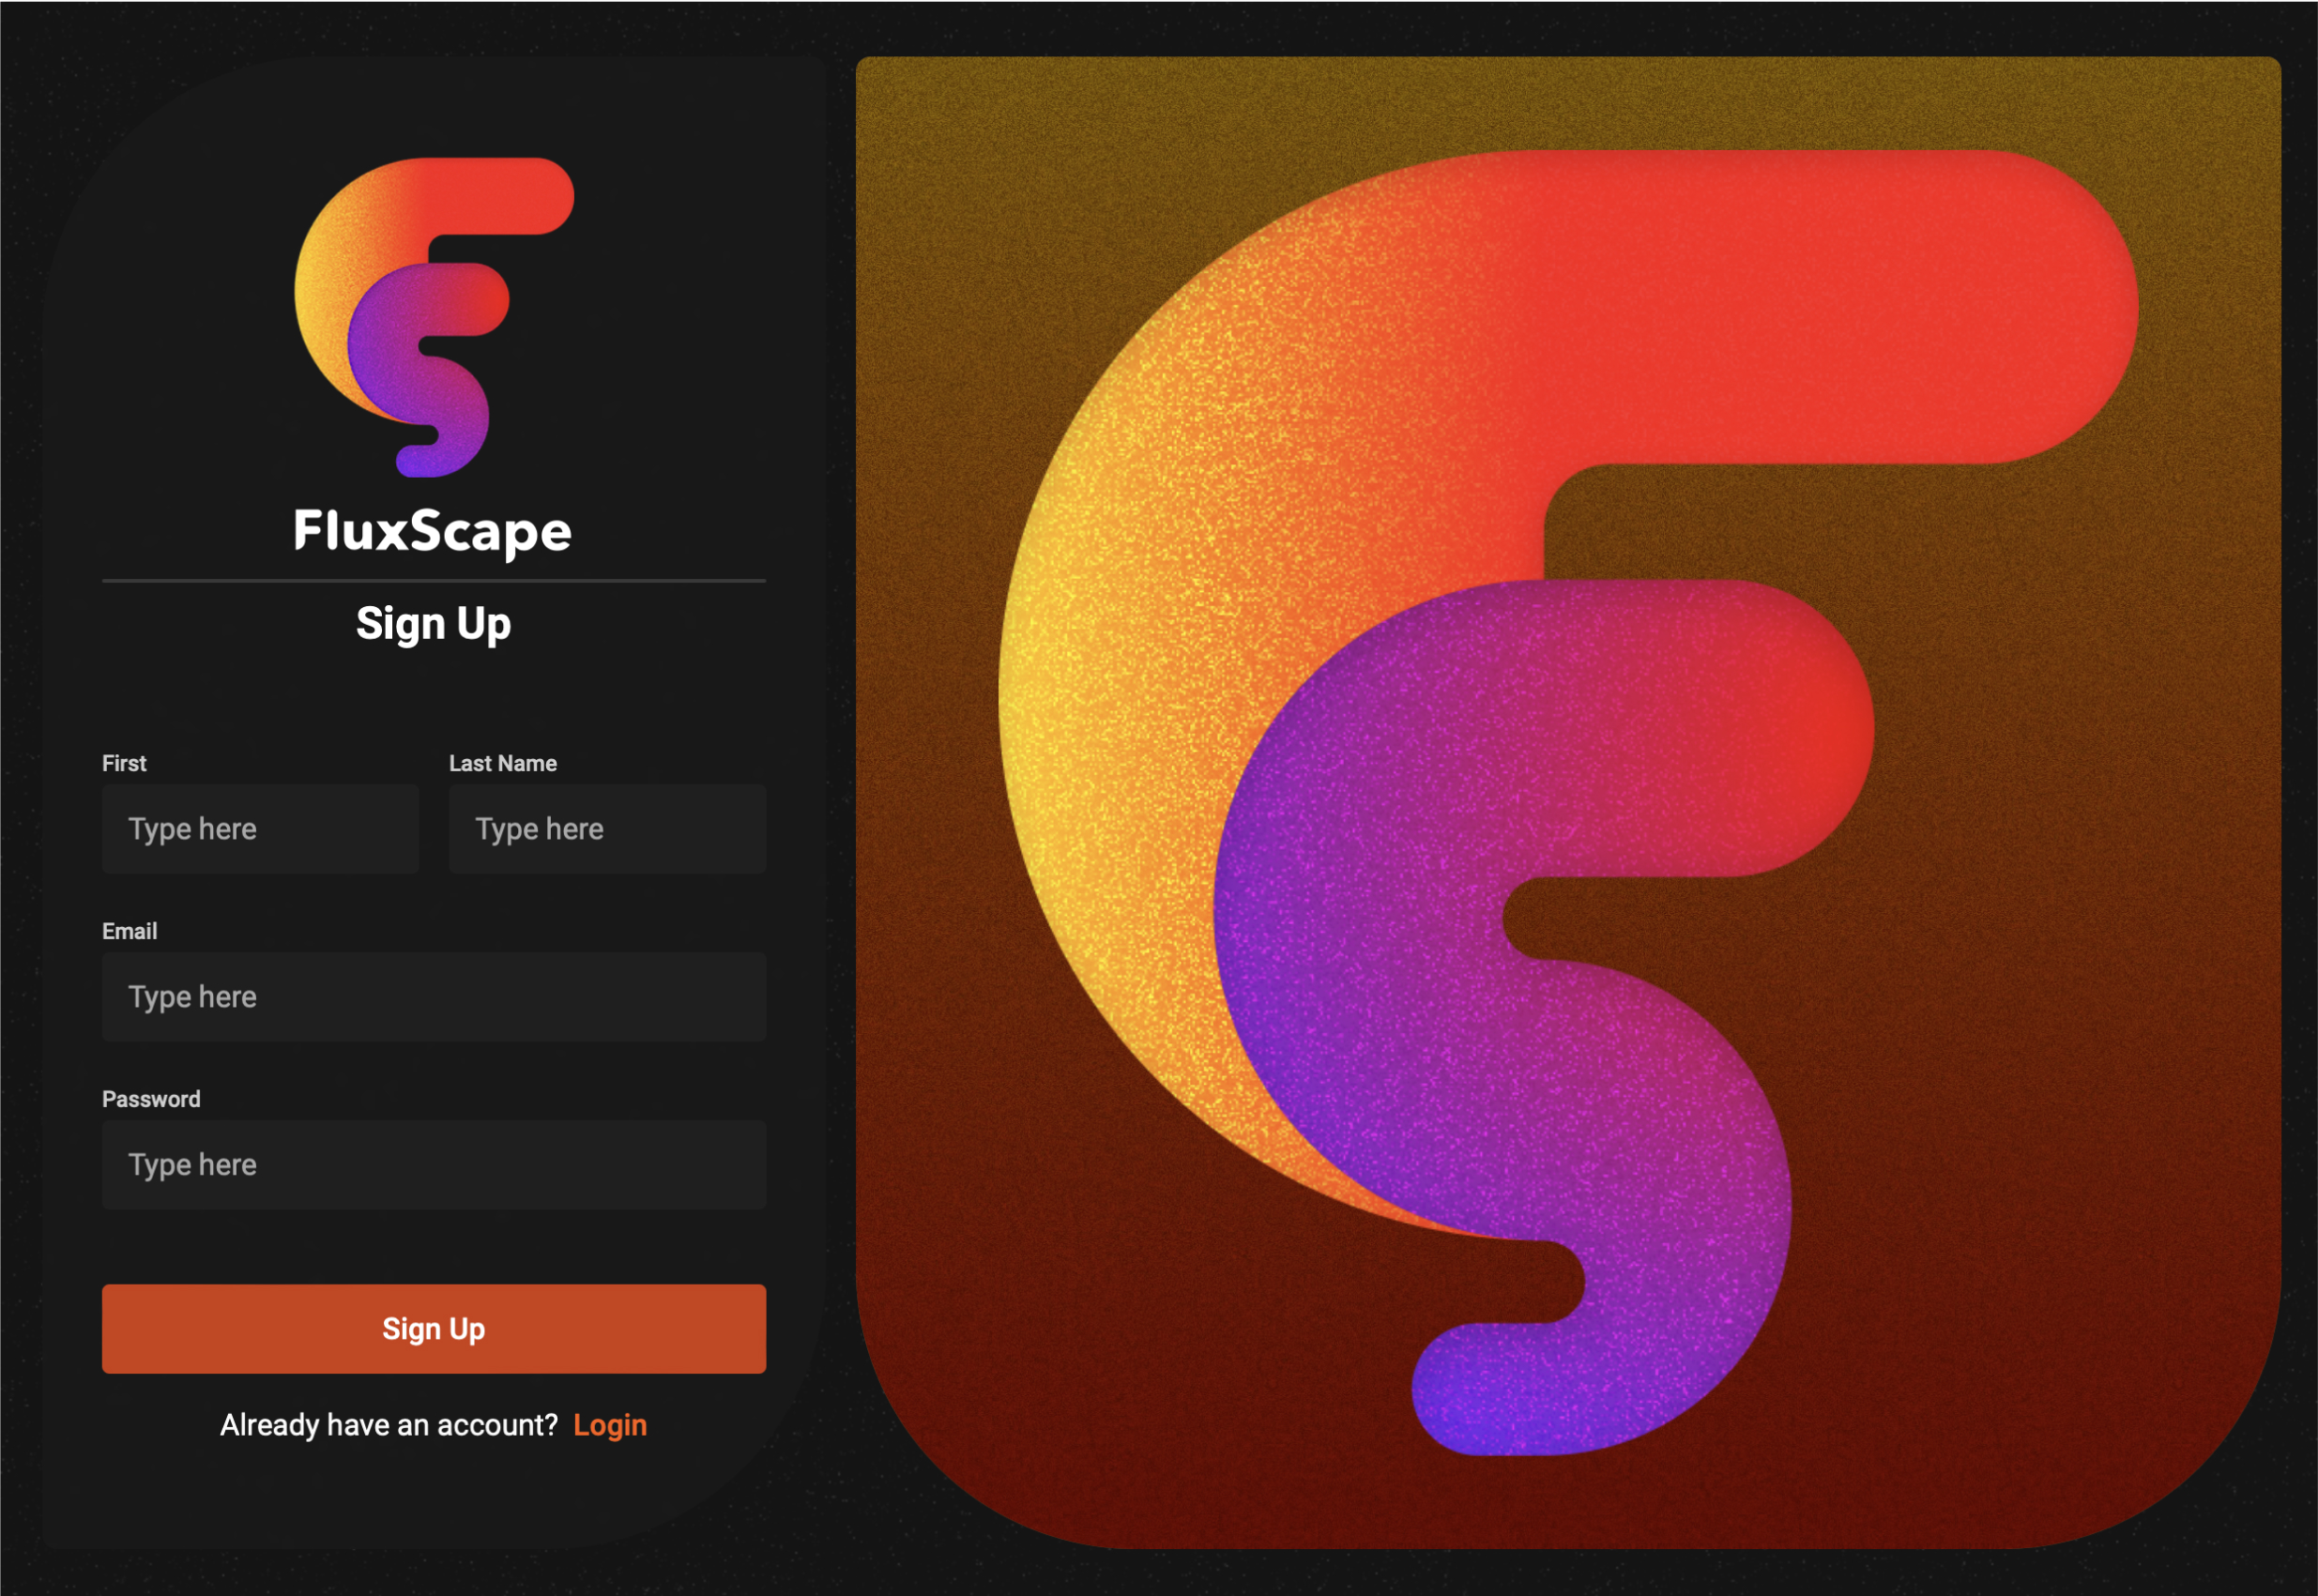
Sign Up
To get started with Fluxscape Hosting in order to have 1-Click Deployment, you'll need to sign up for an account.
Navigate to the Fluxscape Sign-Up page.
Fill in the required information:
- First Name
- Last Name
- Password
Click the Sign Up button.
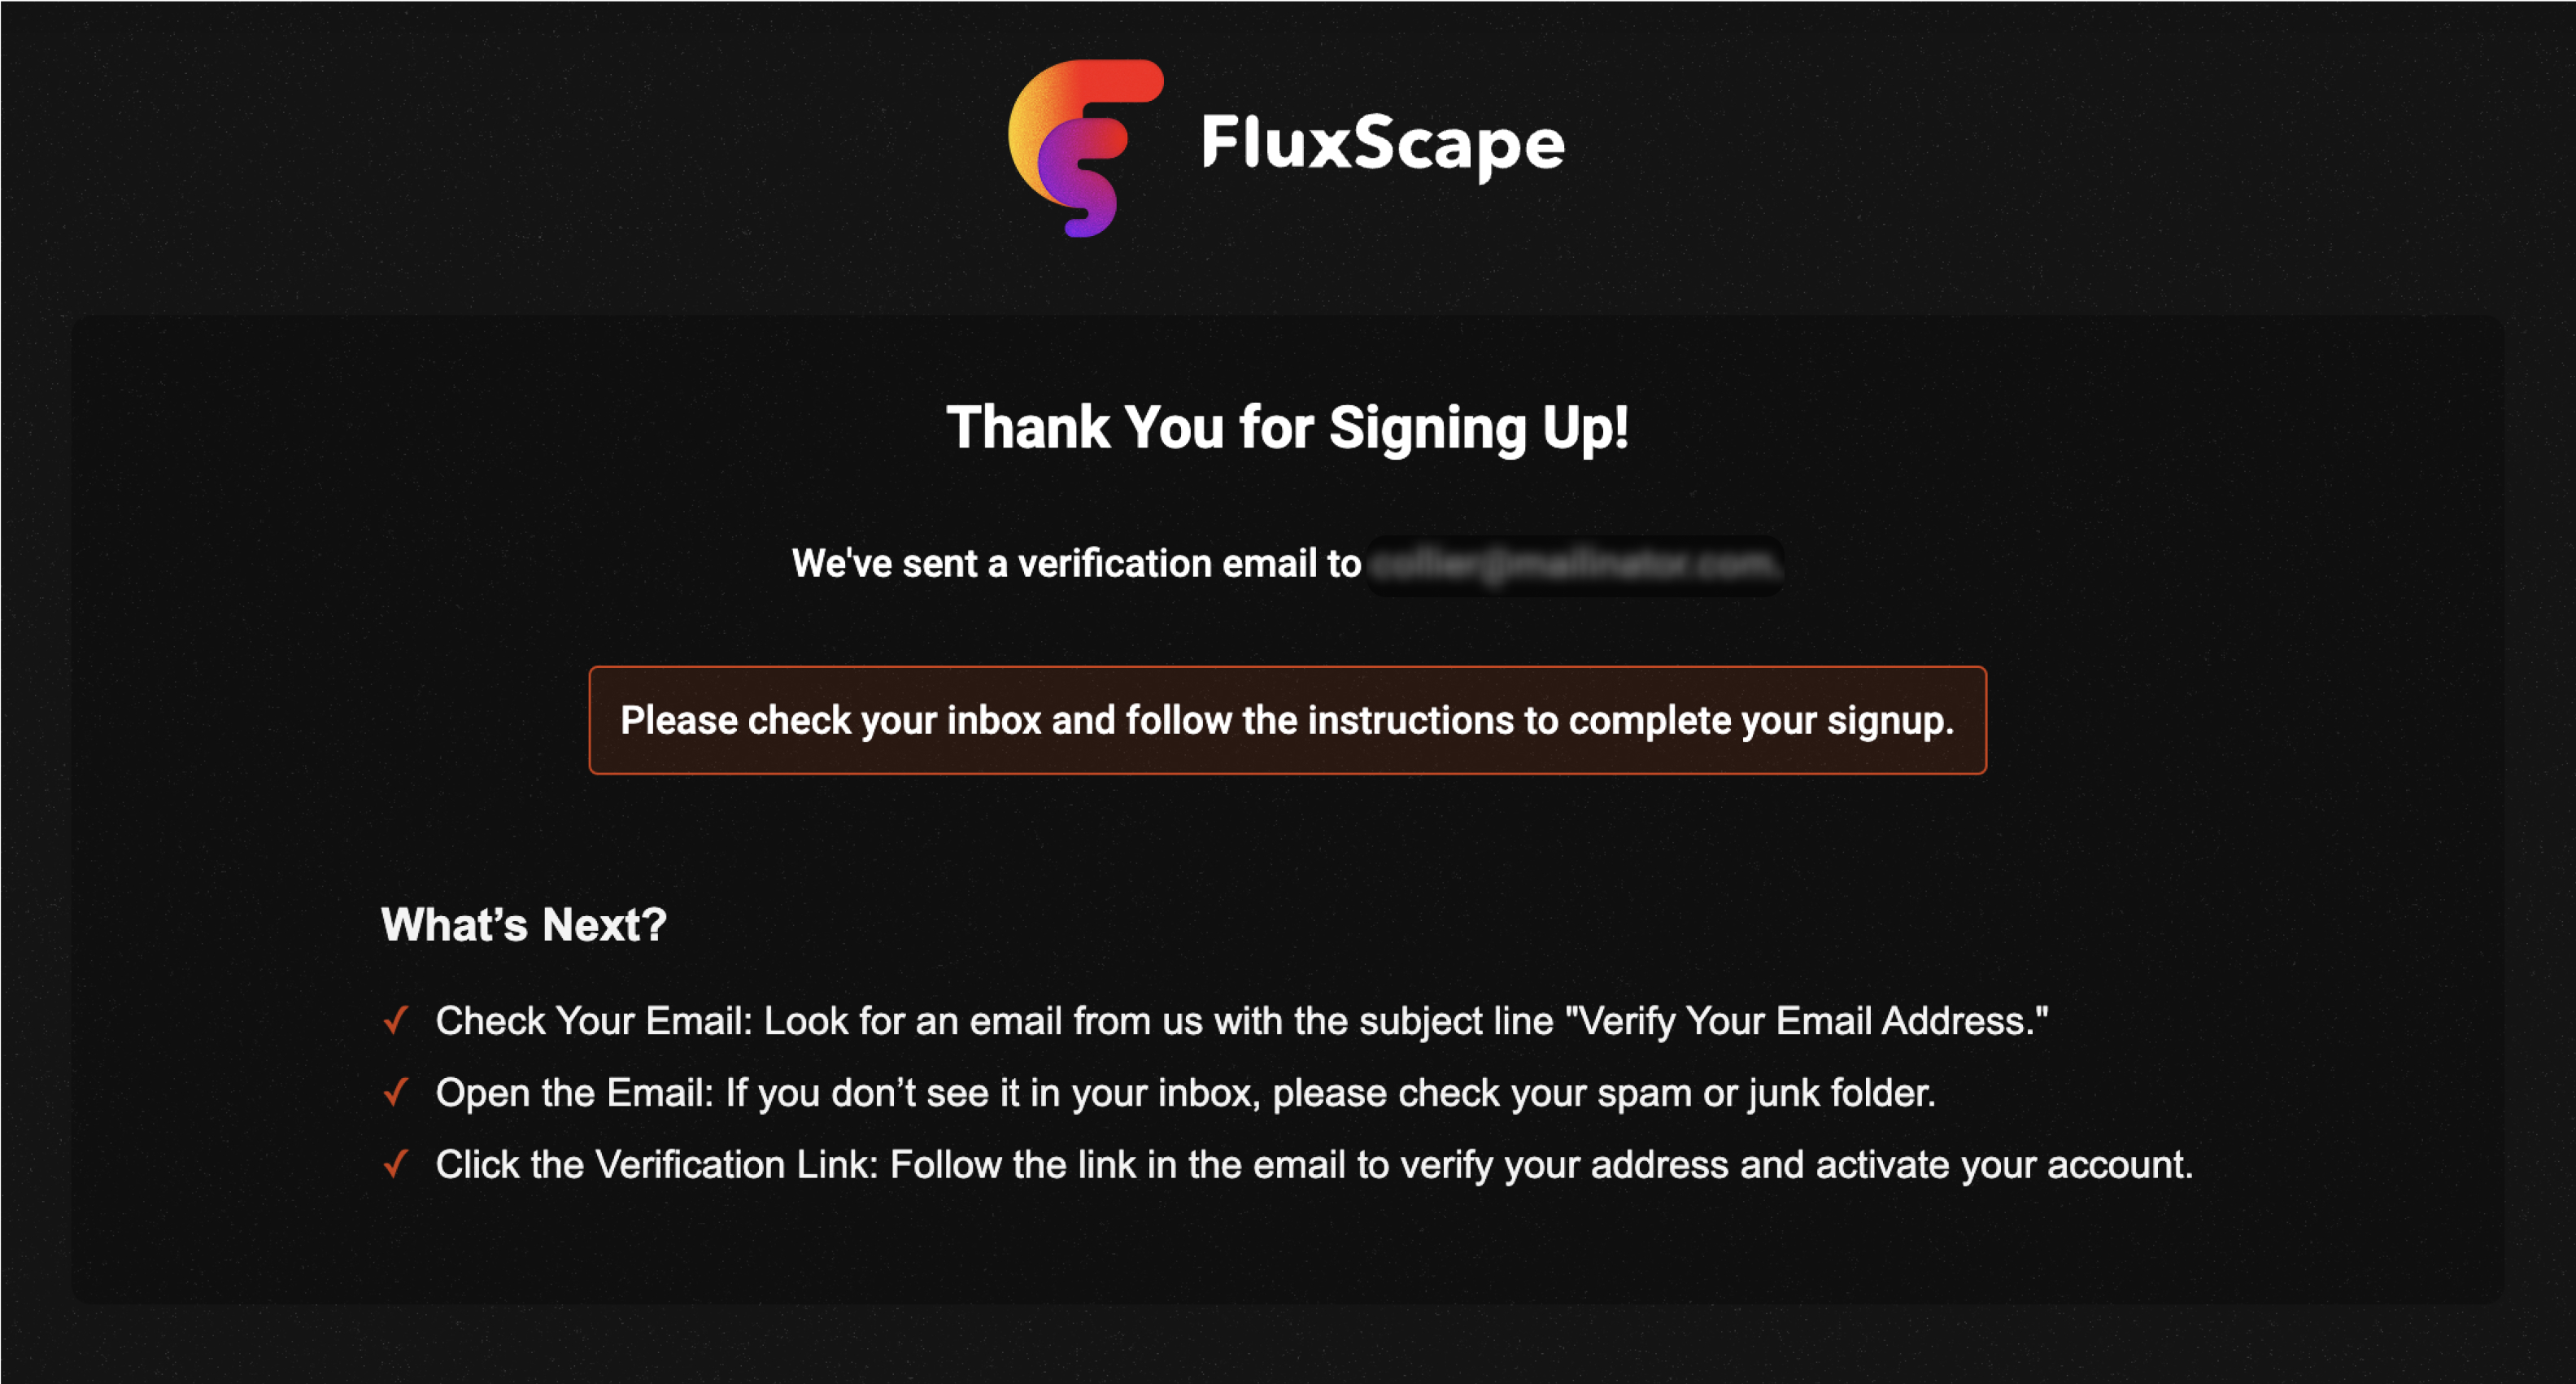
Email Verification
After signing up, you'll receive a verification email.
- Check your inbox for an email from Fluxscape.
- Follow the instructions in the email to verify your address.
- If you don’t see the email, check your spam or junk folder.
Verification Email
You will receive an email that looks like this. Click on the Verify your E-mail button to complete the verification process.

Log In
Once your email is verified, you can log in to your account.
- Navigate to the Fluxscape Login page.
- Enter your Email and Password.
- Click the Log In button.
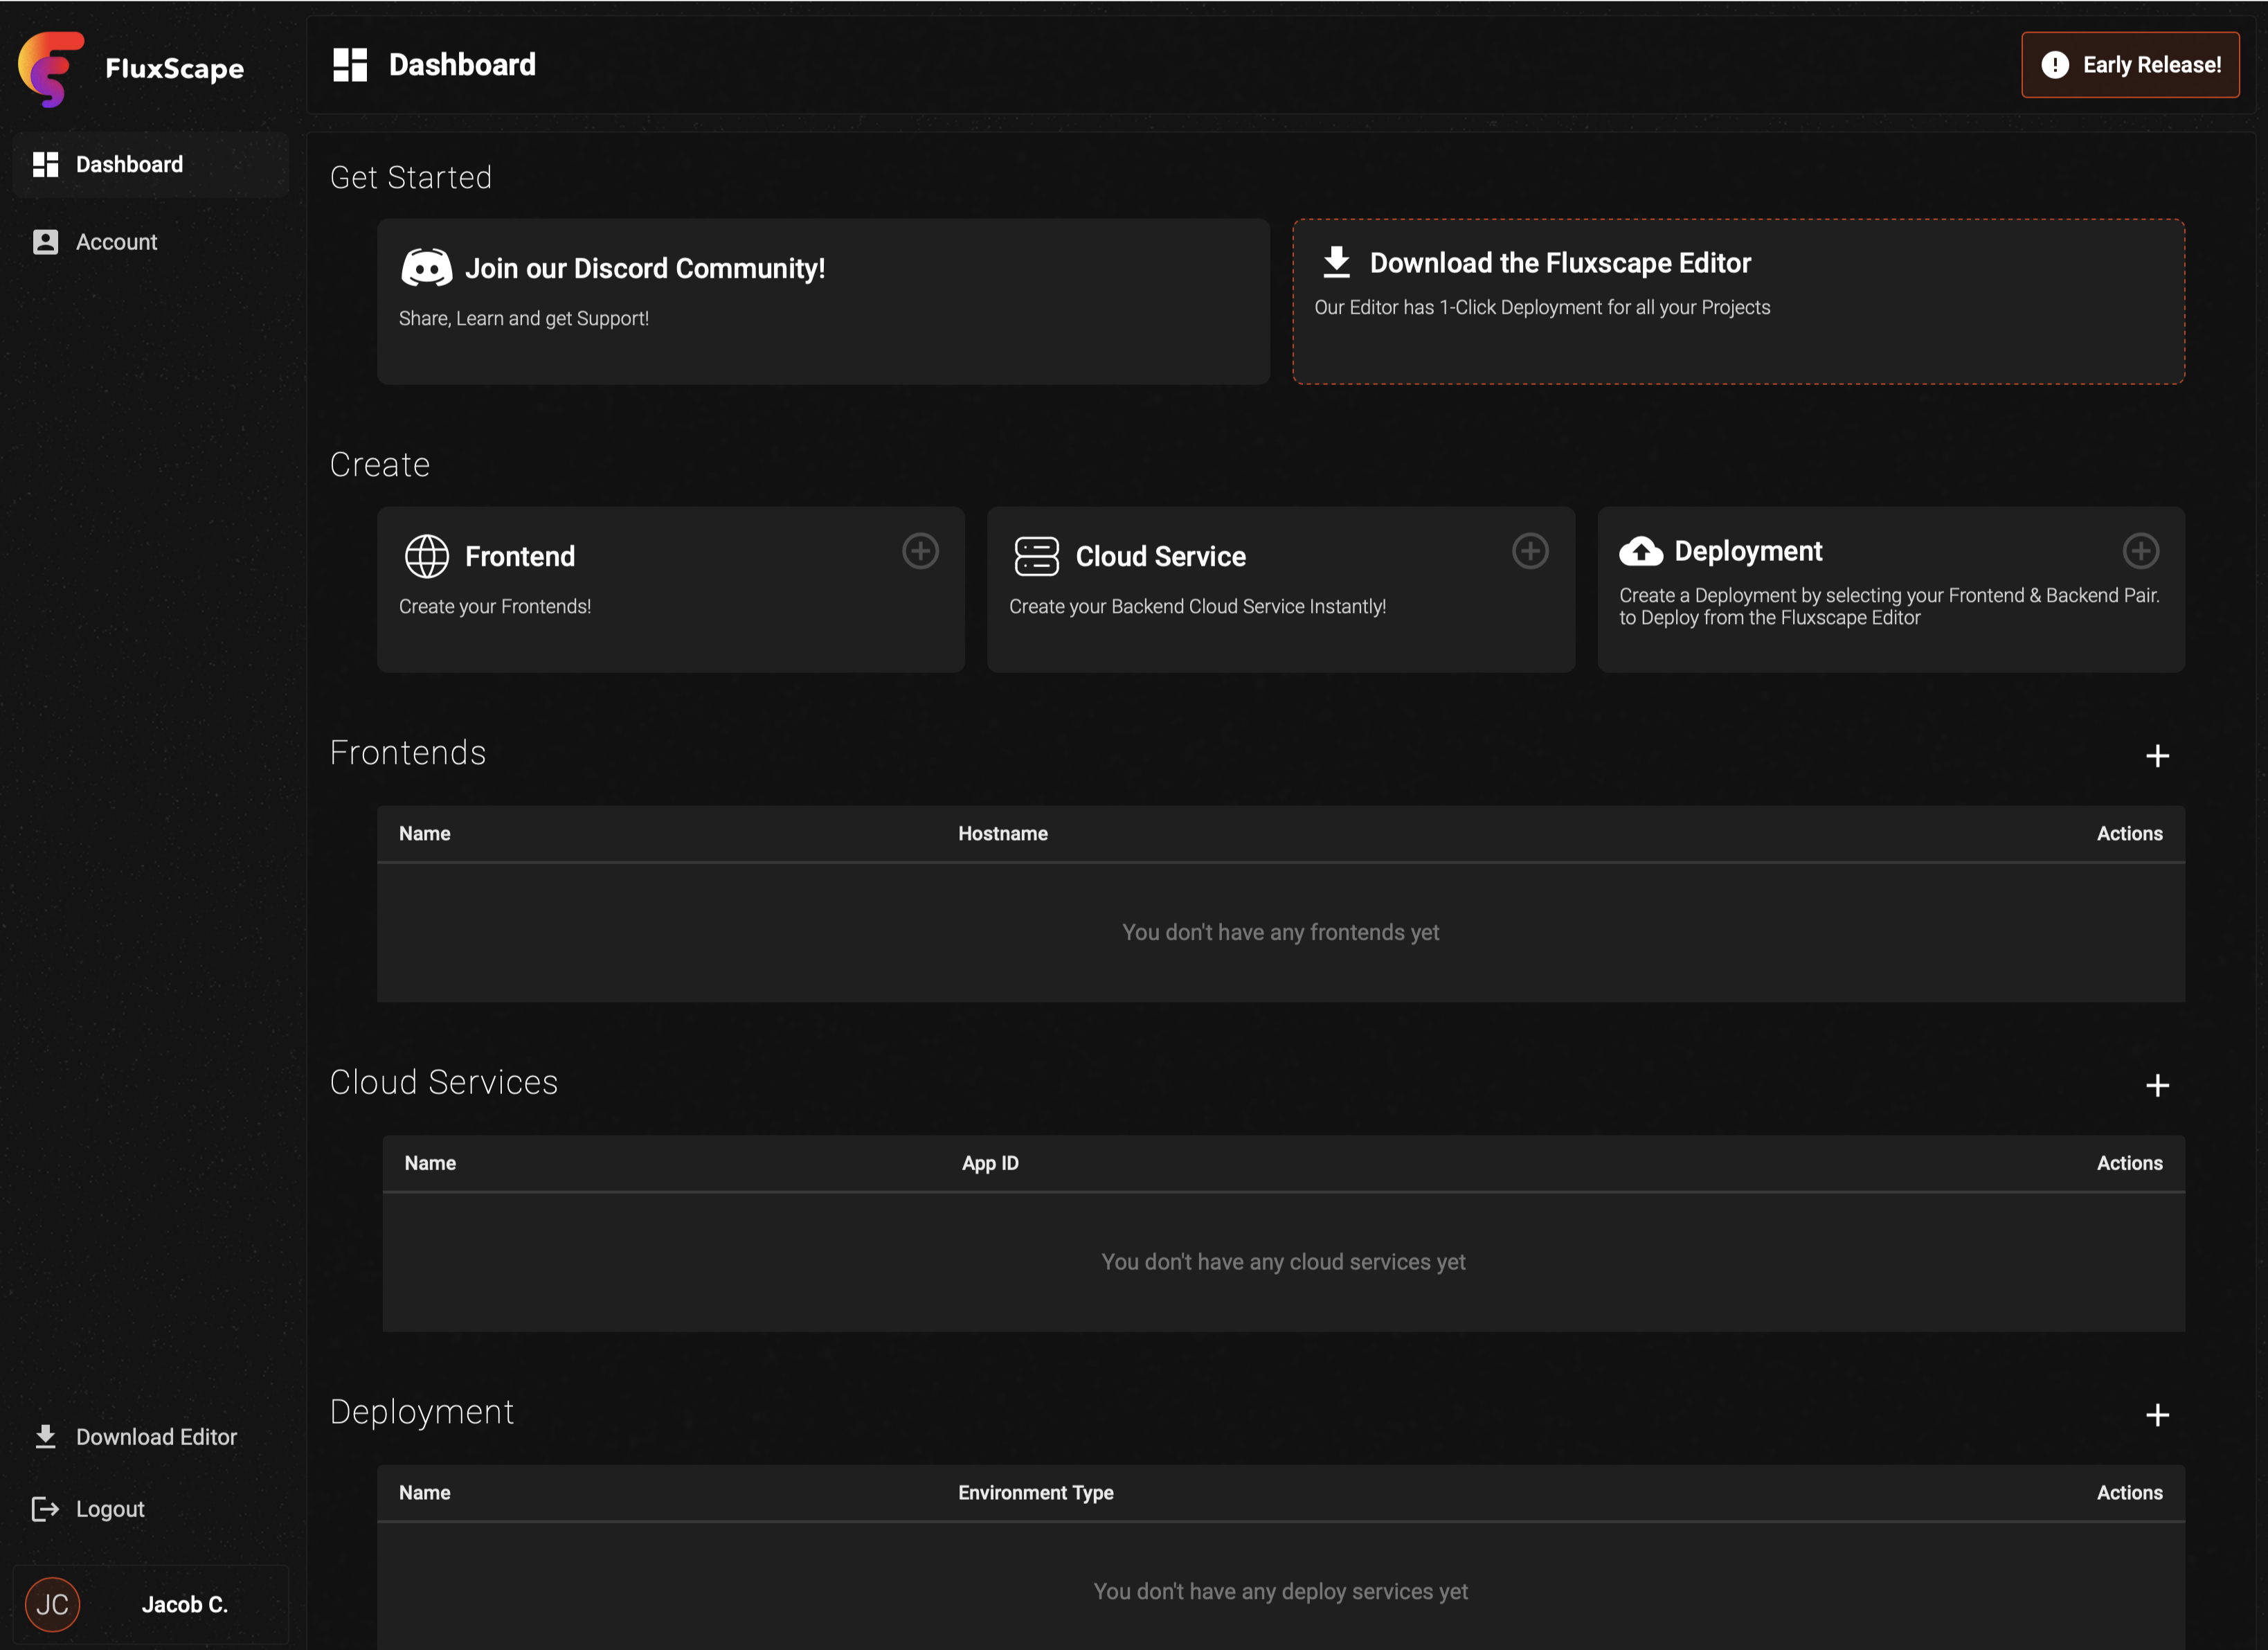
Dashboard Overview
After logging in, you'll see the main dashboard. Here, you can manage your frontends, cloud services, and deployments.
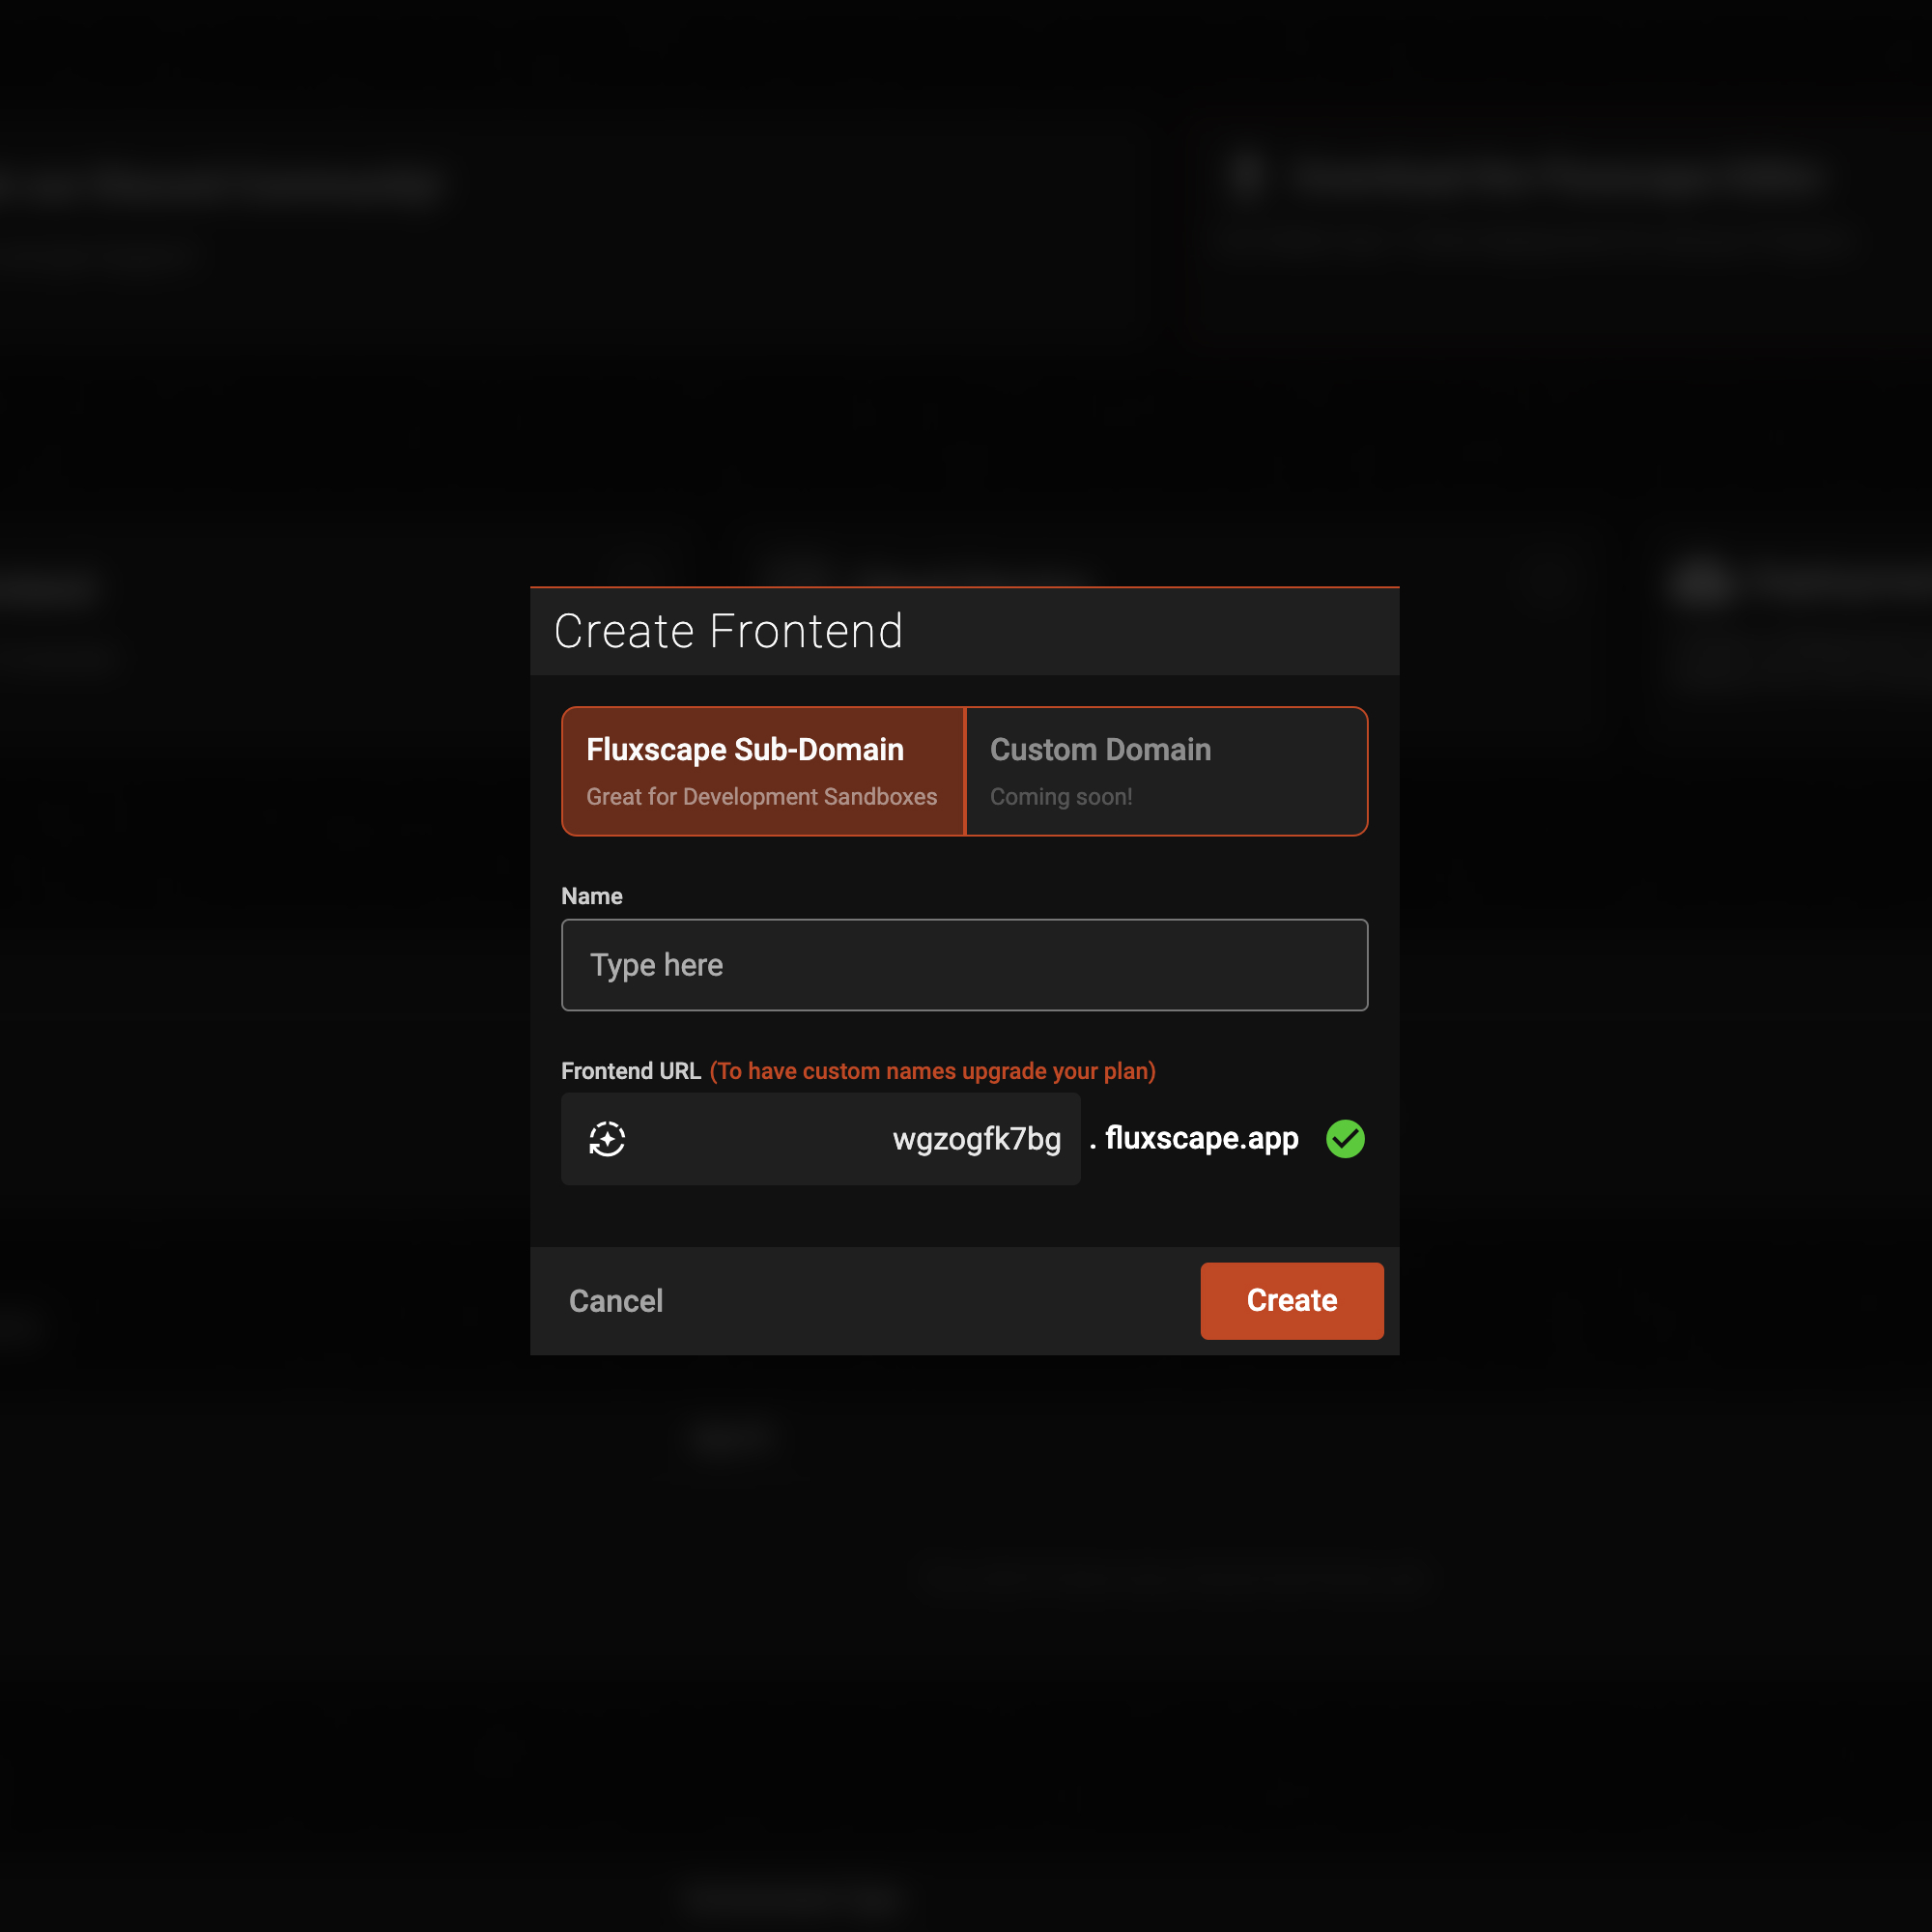
Creating a Frontend
A frontend is the part of your application that users interact with directly. It includes the user interface and the client-side logic.
- In the Create section, click on Frontend.
- Enter the name for your frontend.
- The frontend URL will be auto-generated. To have custom names, upgrade your plan.
- Click Create.
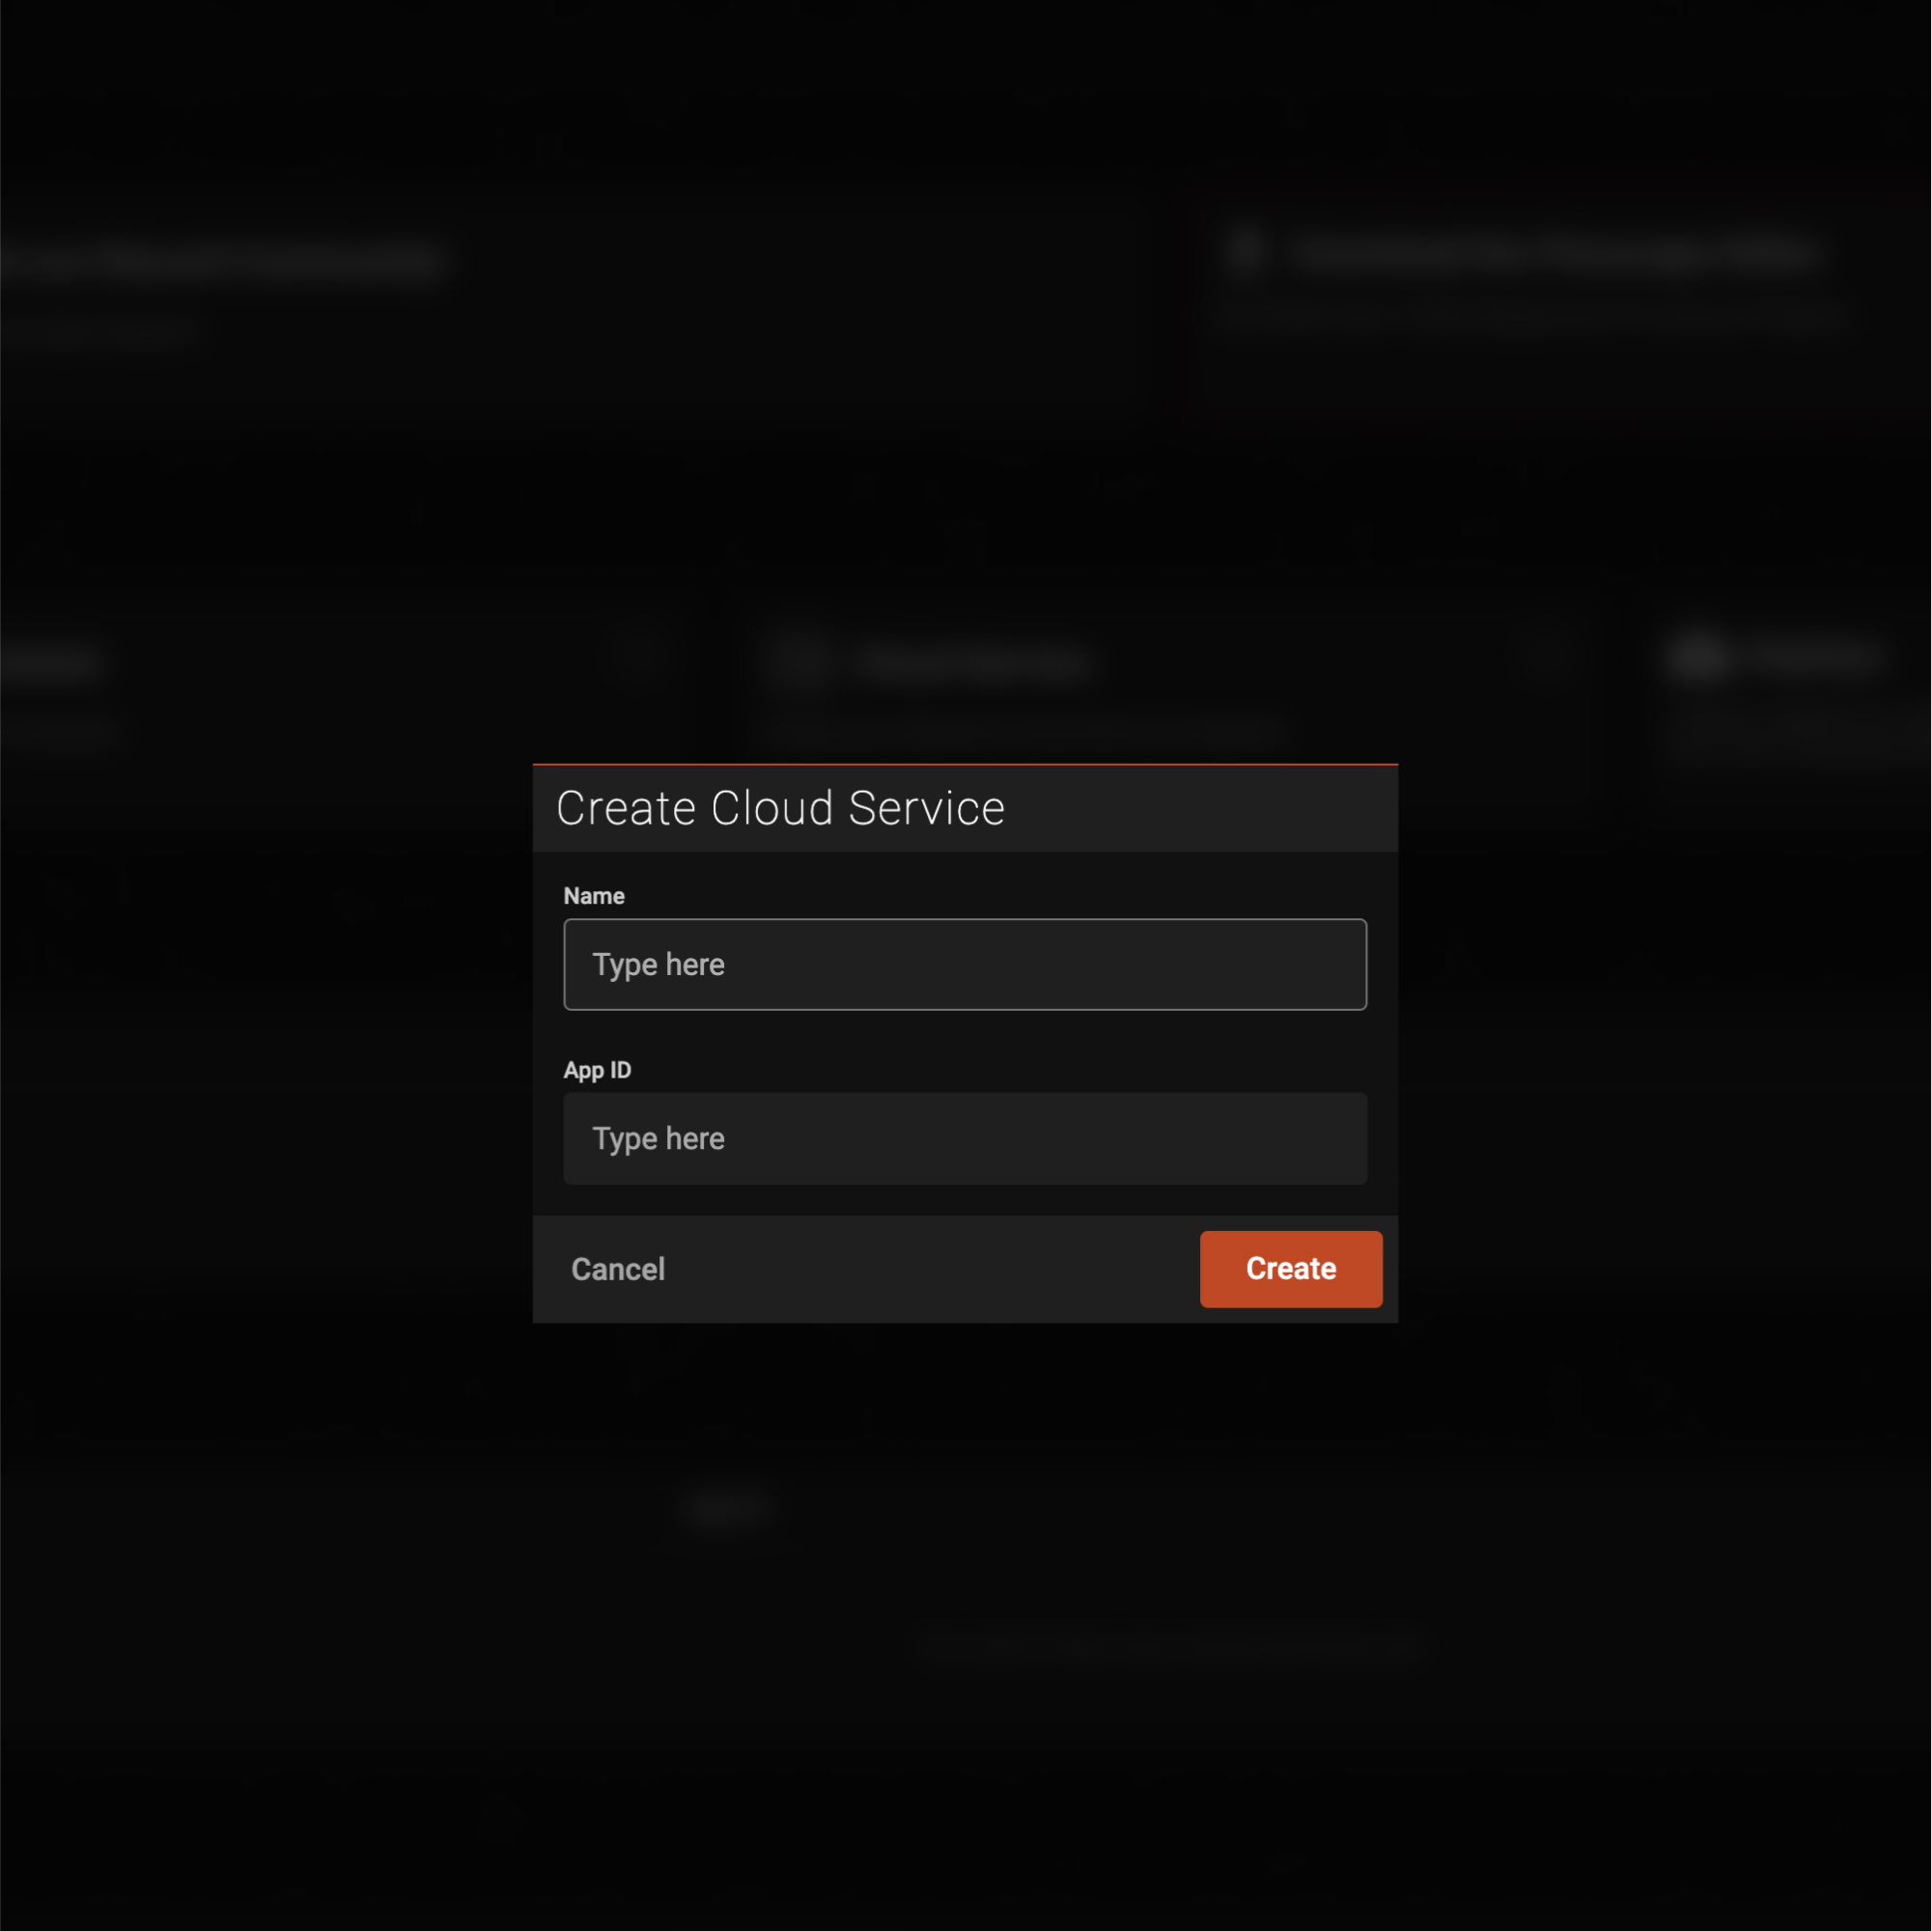
Creating a Cloud Service
A cloud service provides a backend database and handles your cloud functions. It manages data storage, processing, and server-side logic.
- In the Create section, click on Cloud Service.
- Enter the name and App ID for your cloud service.
- Click Create.
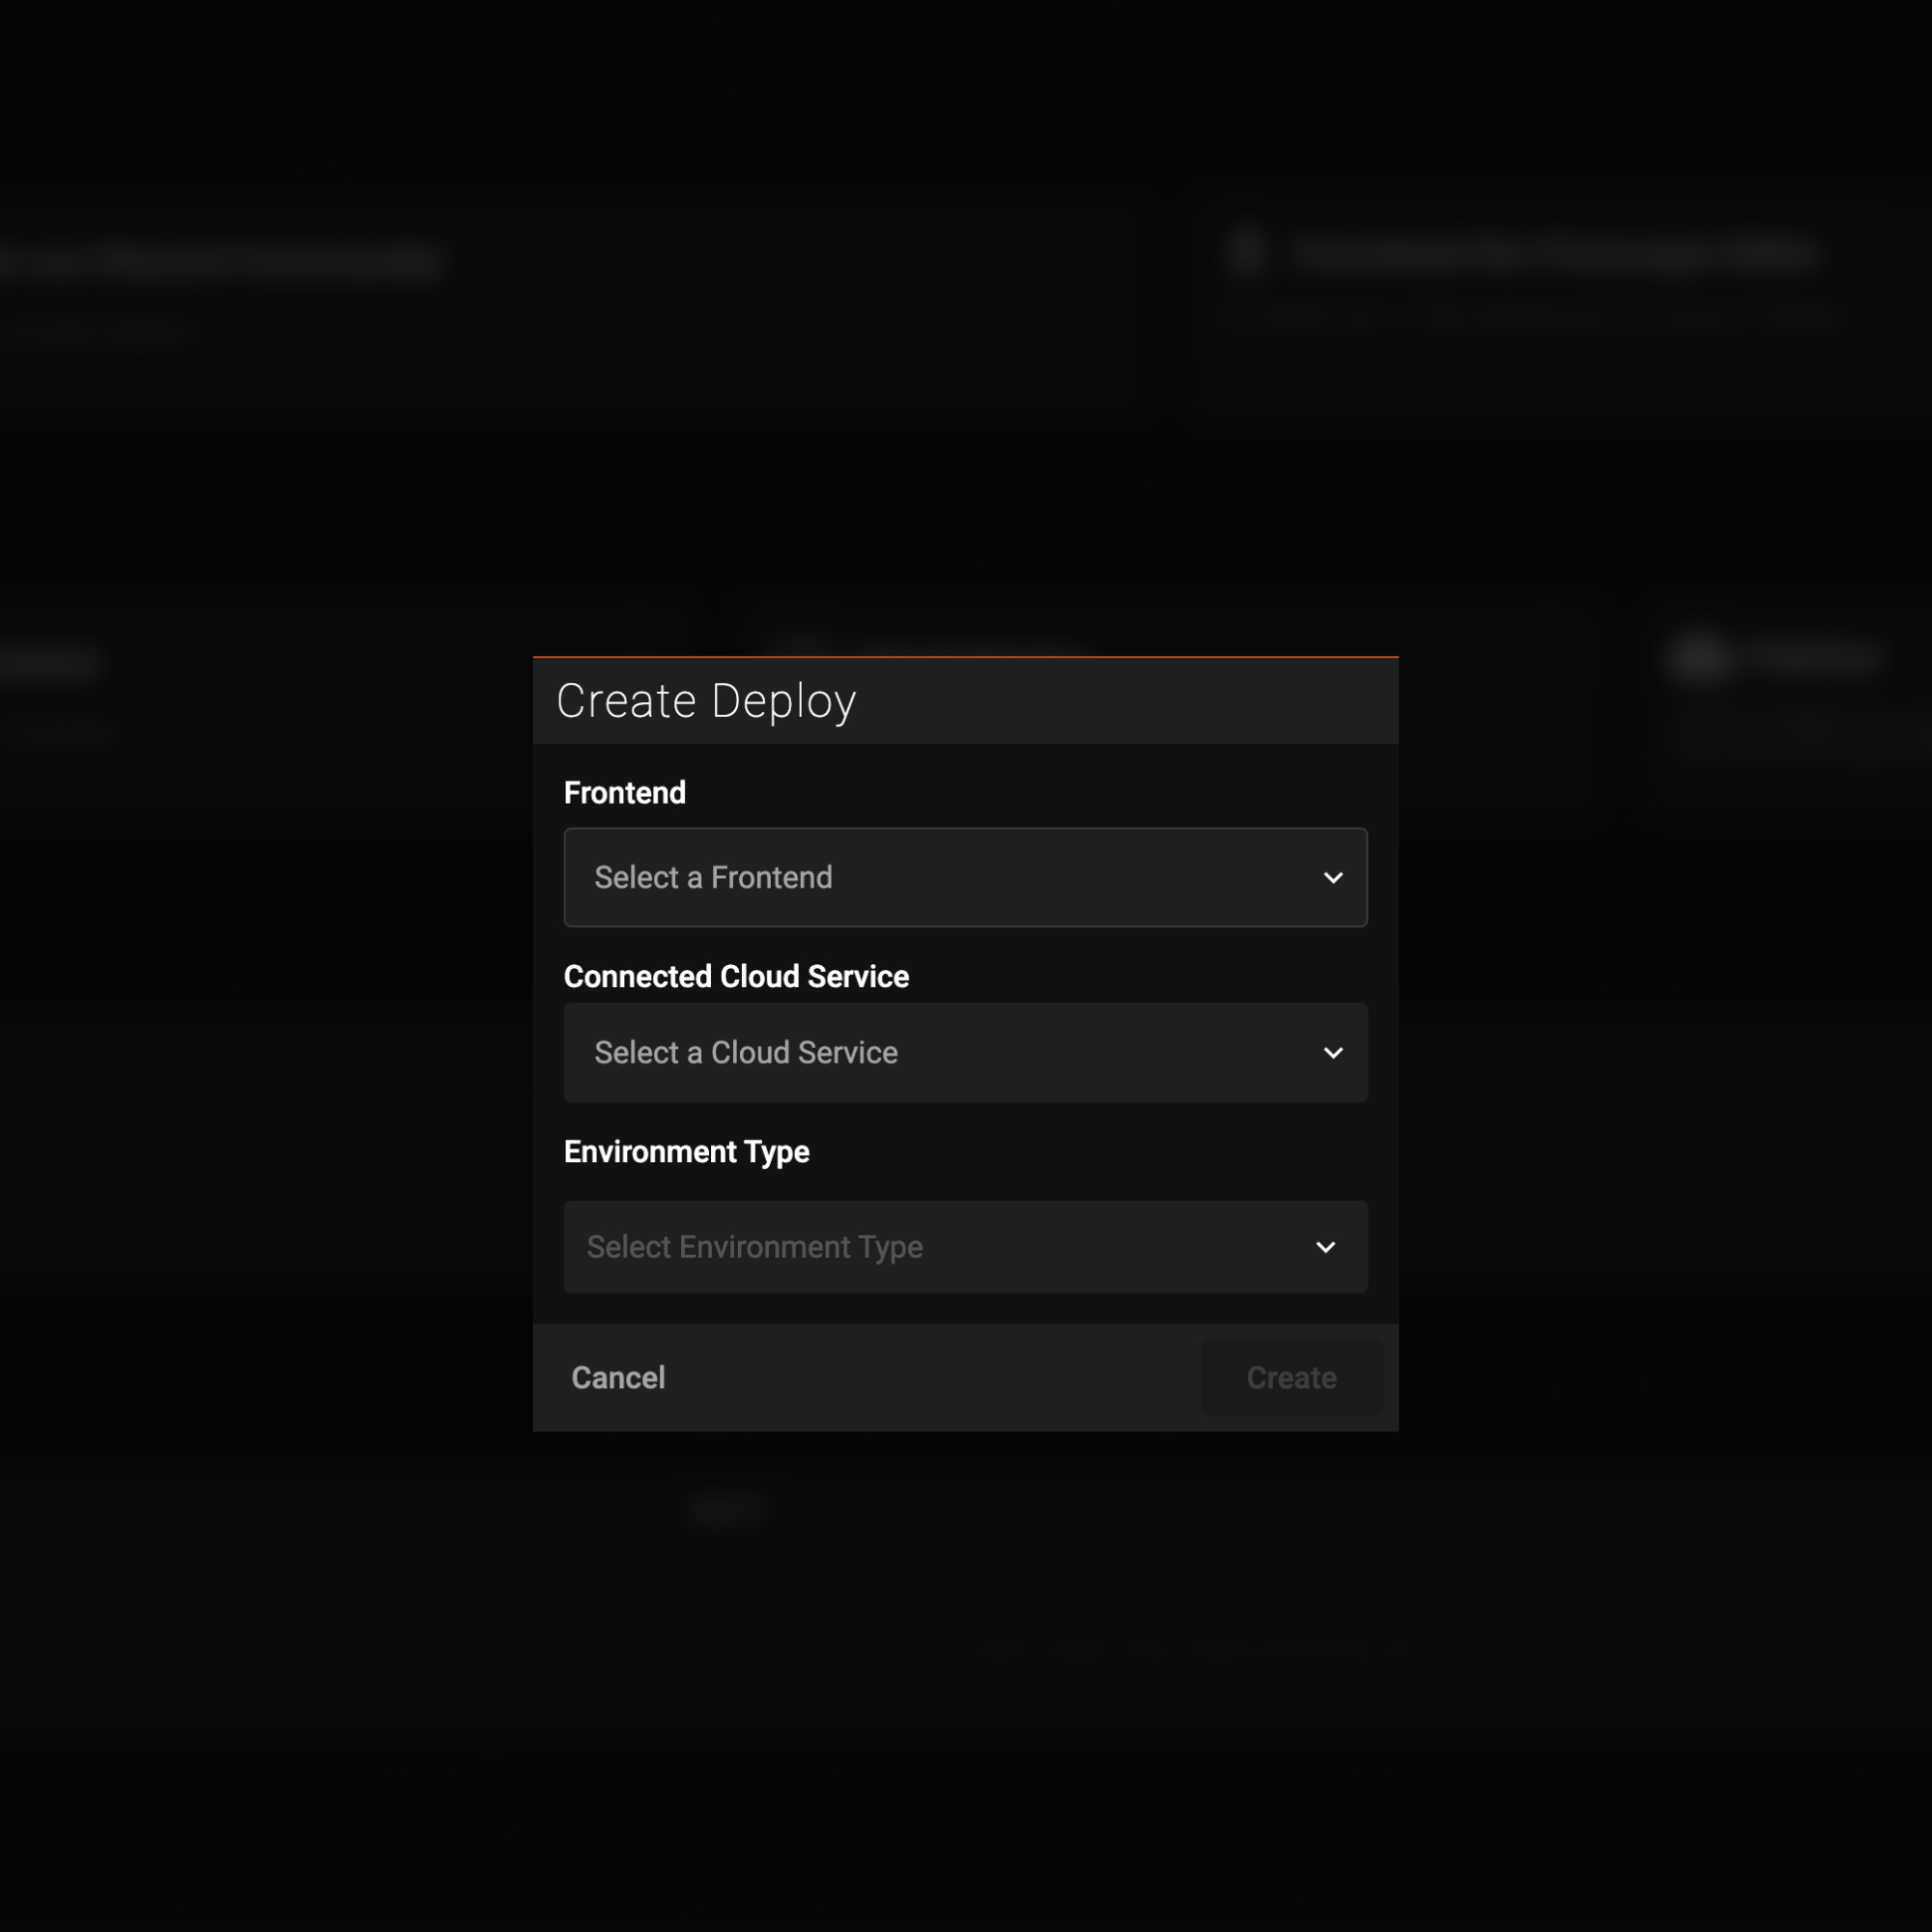
Creating a Deployment
A deployment is a pairing of a frontend destination and a backend to be used with the frontend. This allows you to connect your user interface with the appropriate backend services.
- In the Create section, click on Deployment.
- Select the frontend you created.
- Select the connected cloud service.
- Choose the environment type.
- Click Create.
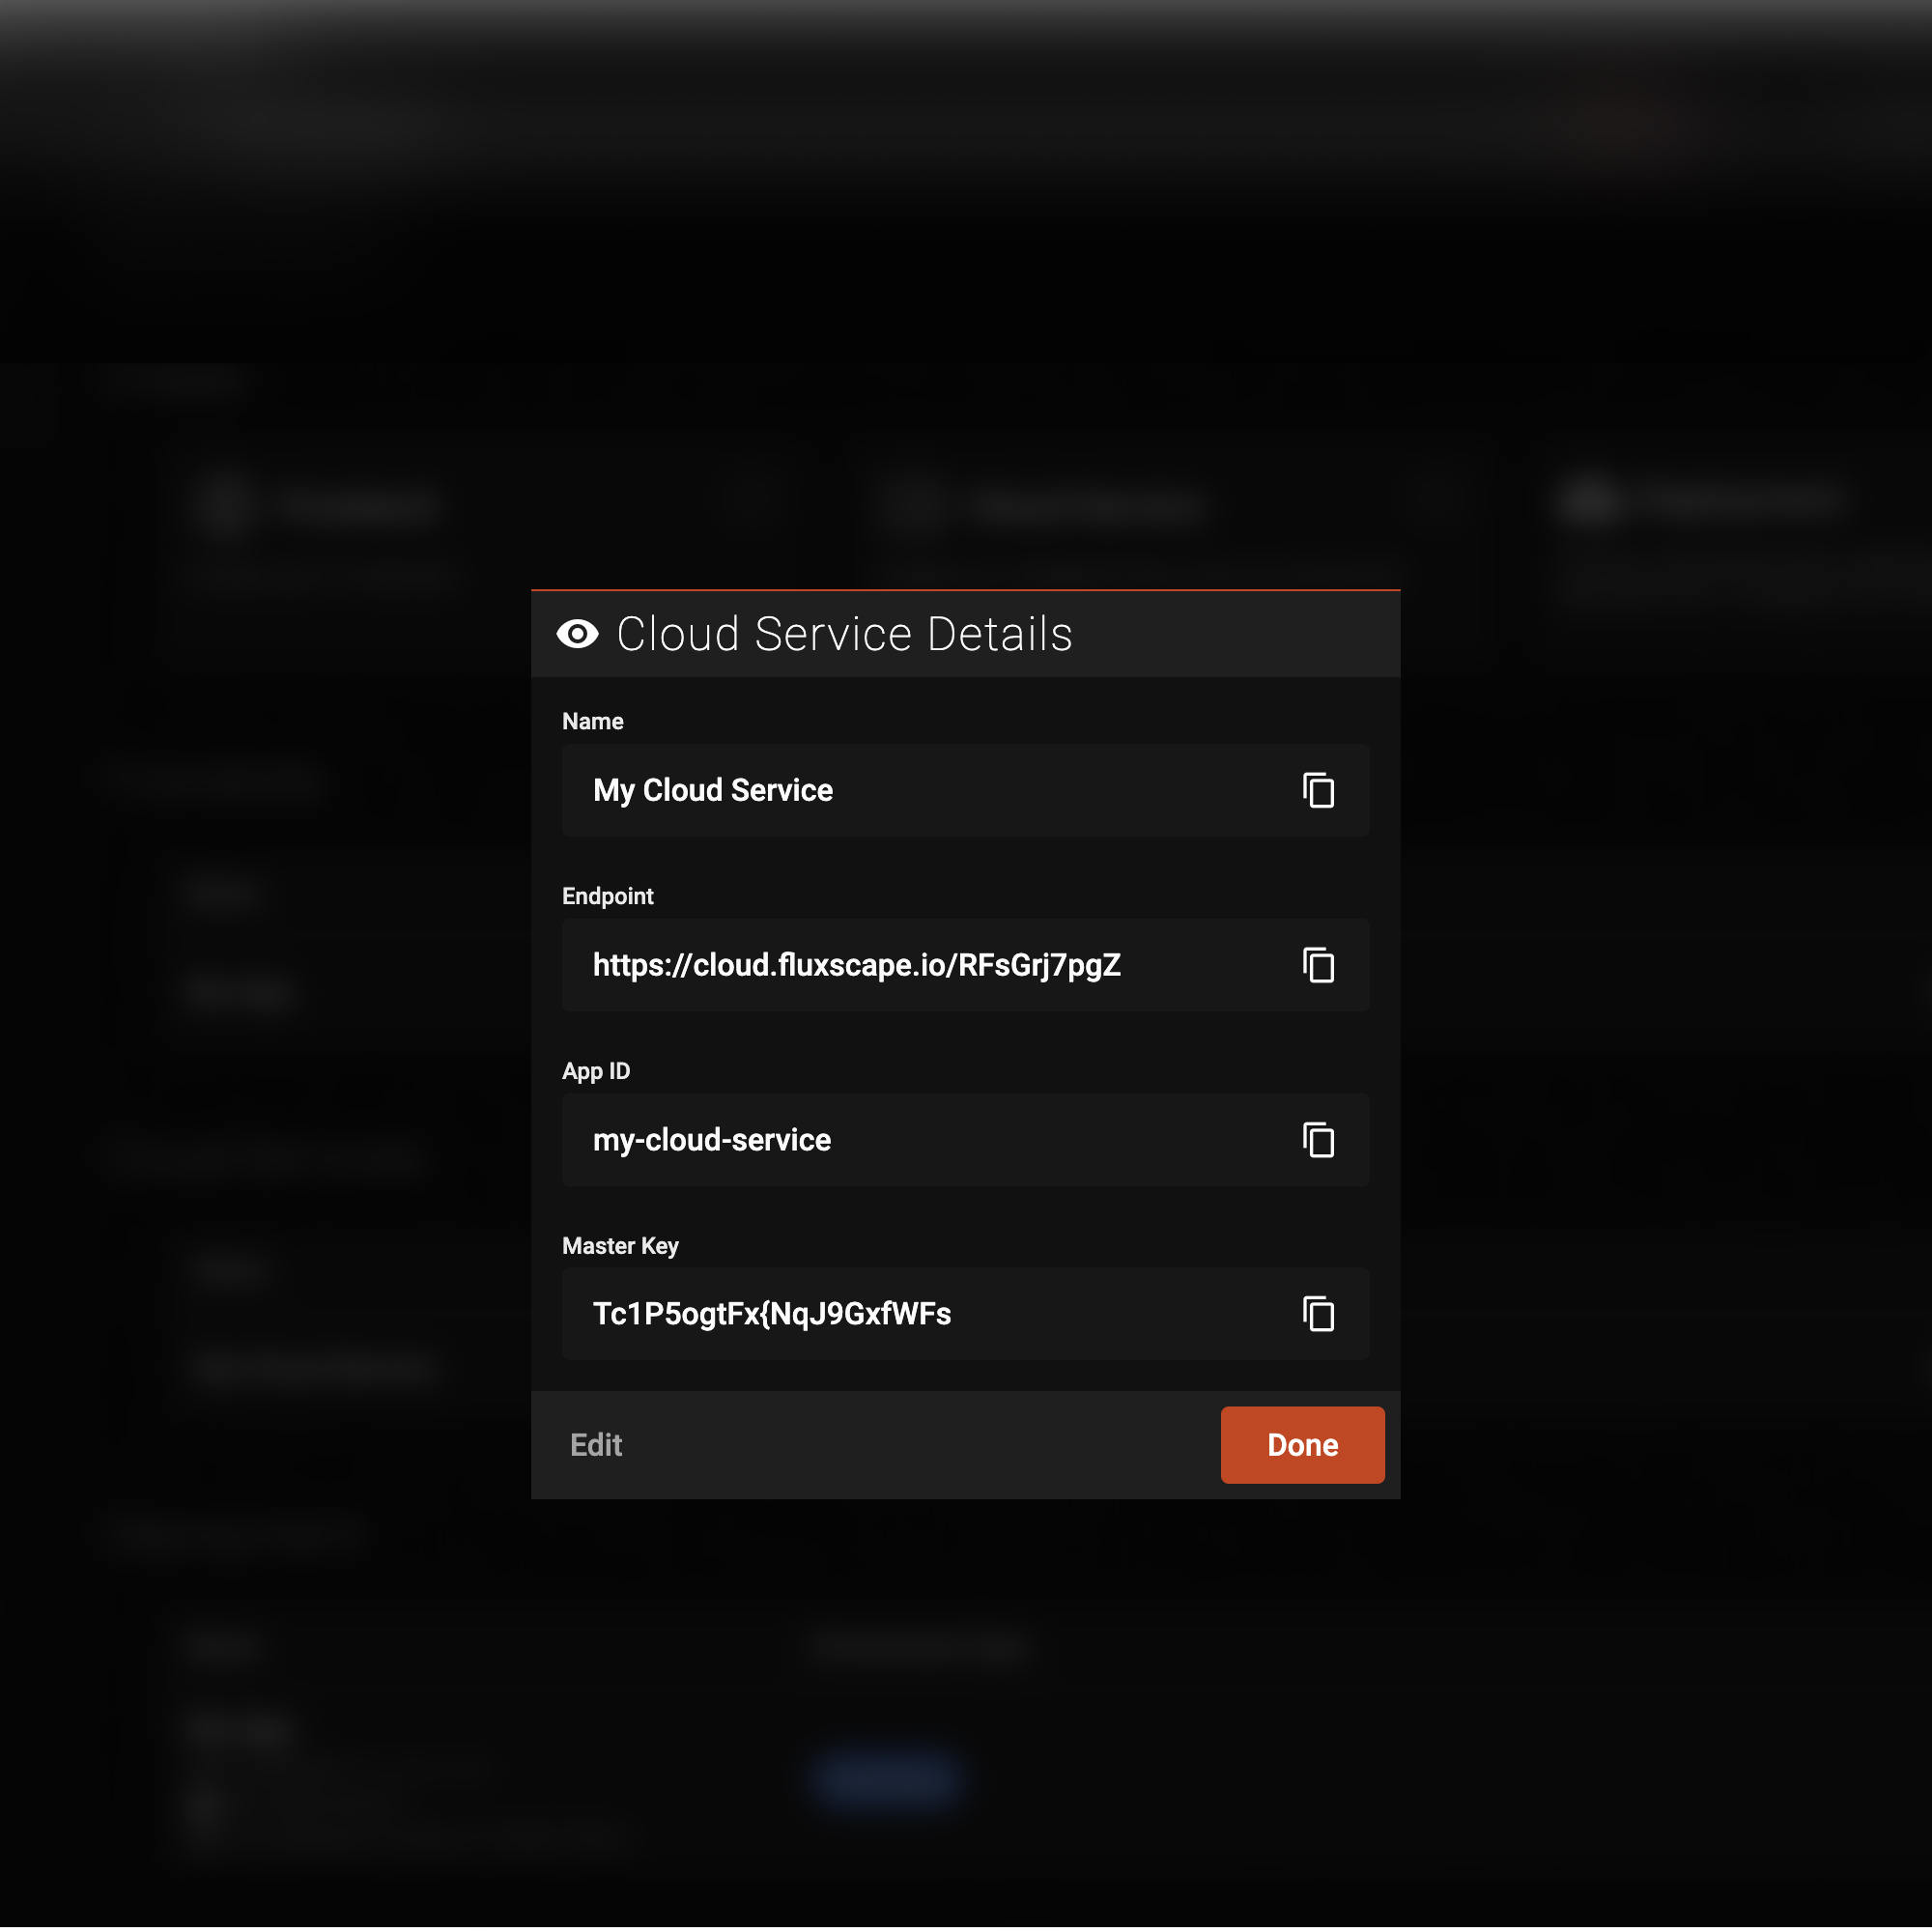
Viewing Cloud Service Details
- Go to the Cloud Services section in your dashboard.
- Click on the cloud service you created to view its details.
- Copy the Name, Endpoint, App ID, and Master Key.
Adding a Cloud Service to the Fluxscape Editor
To develop with a cloud service, you need to manually add it to the Fluxscape editor.
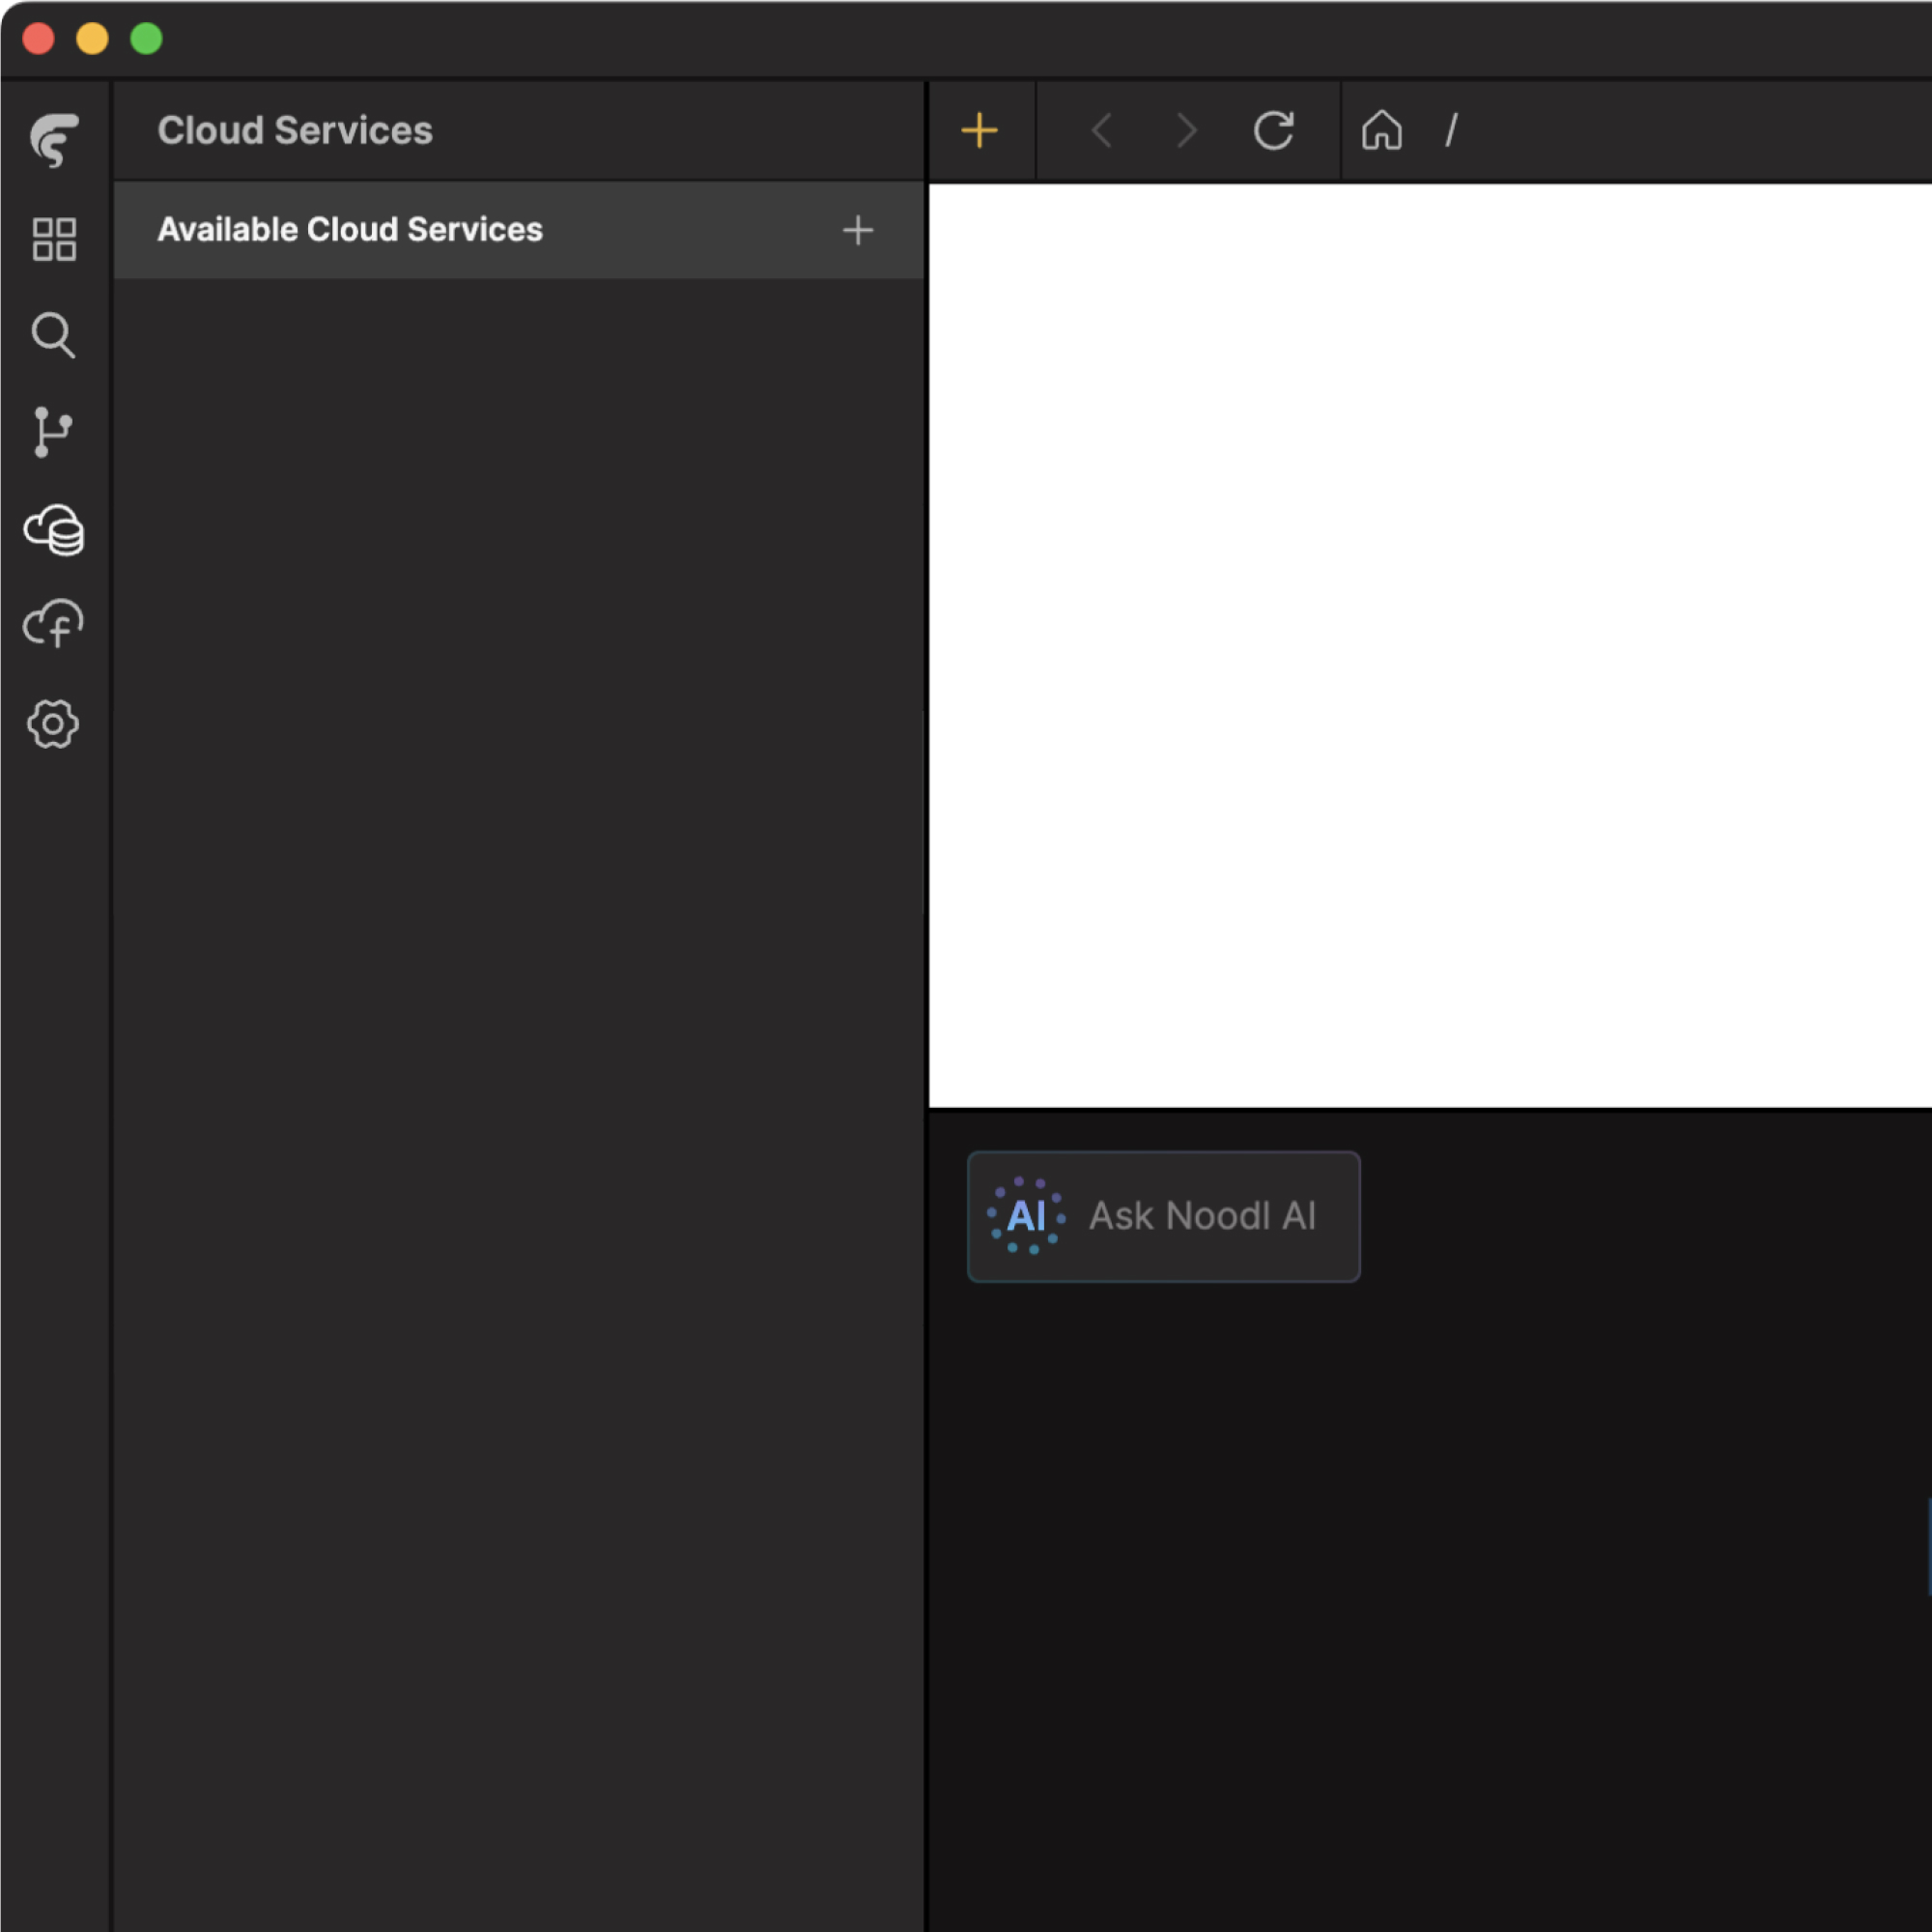
Accessing the Cloud Service Panel
- Open the Fluxscape editor.
- Click on the Cloud Services tab on the left sidebar.
- Click the + icon next to Available Cloud Services.
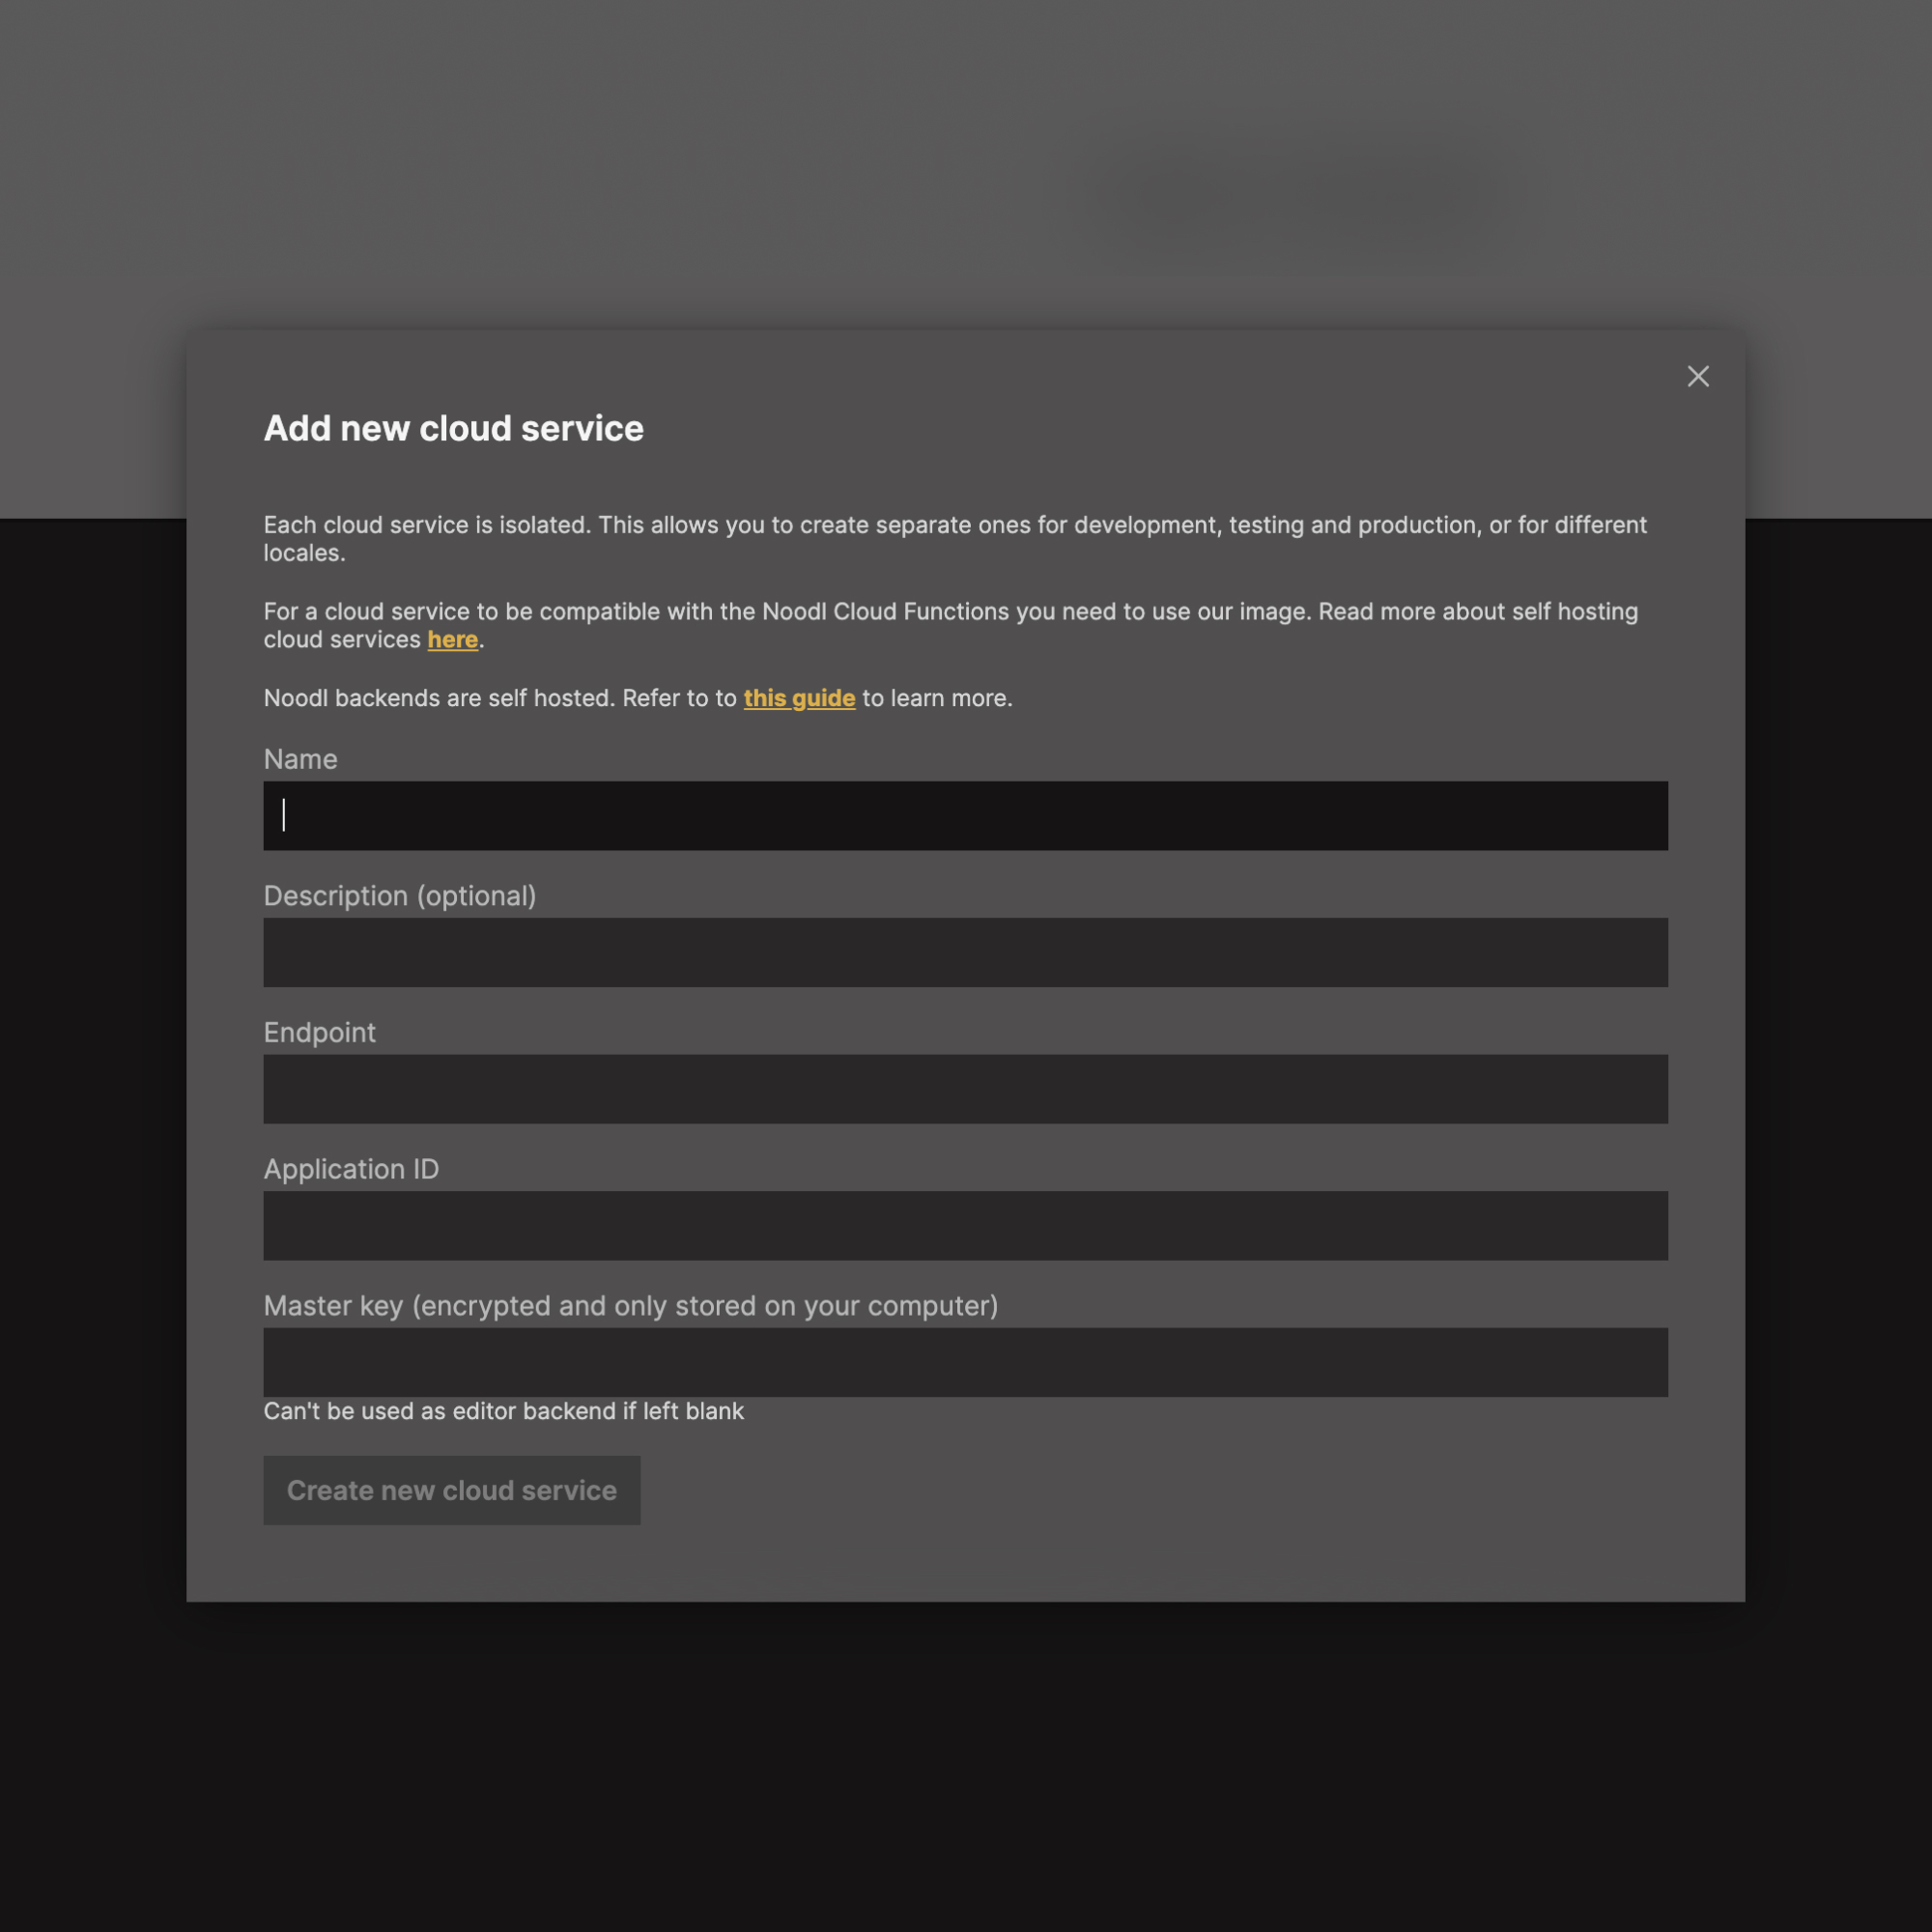
Adding the Cloud Service
In the Add new cloud service panel, enter the following details:
- Name: Paste the cloud service name you copied earlier.
- Endpoint: Paste the endpoint URL.
- Application ID: Paste the App ID.
- Master Key: Paste the master key.
Click Create new cloud service.
One-Click Deployment in Fluxscape Editor
Accessing the Deployment Options
- Open the Fluxscape editor and your project.
- Click the Deploy button on the top right corner of the editor.
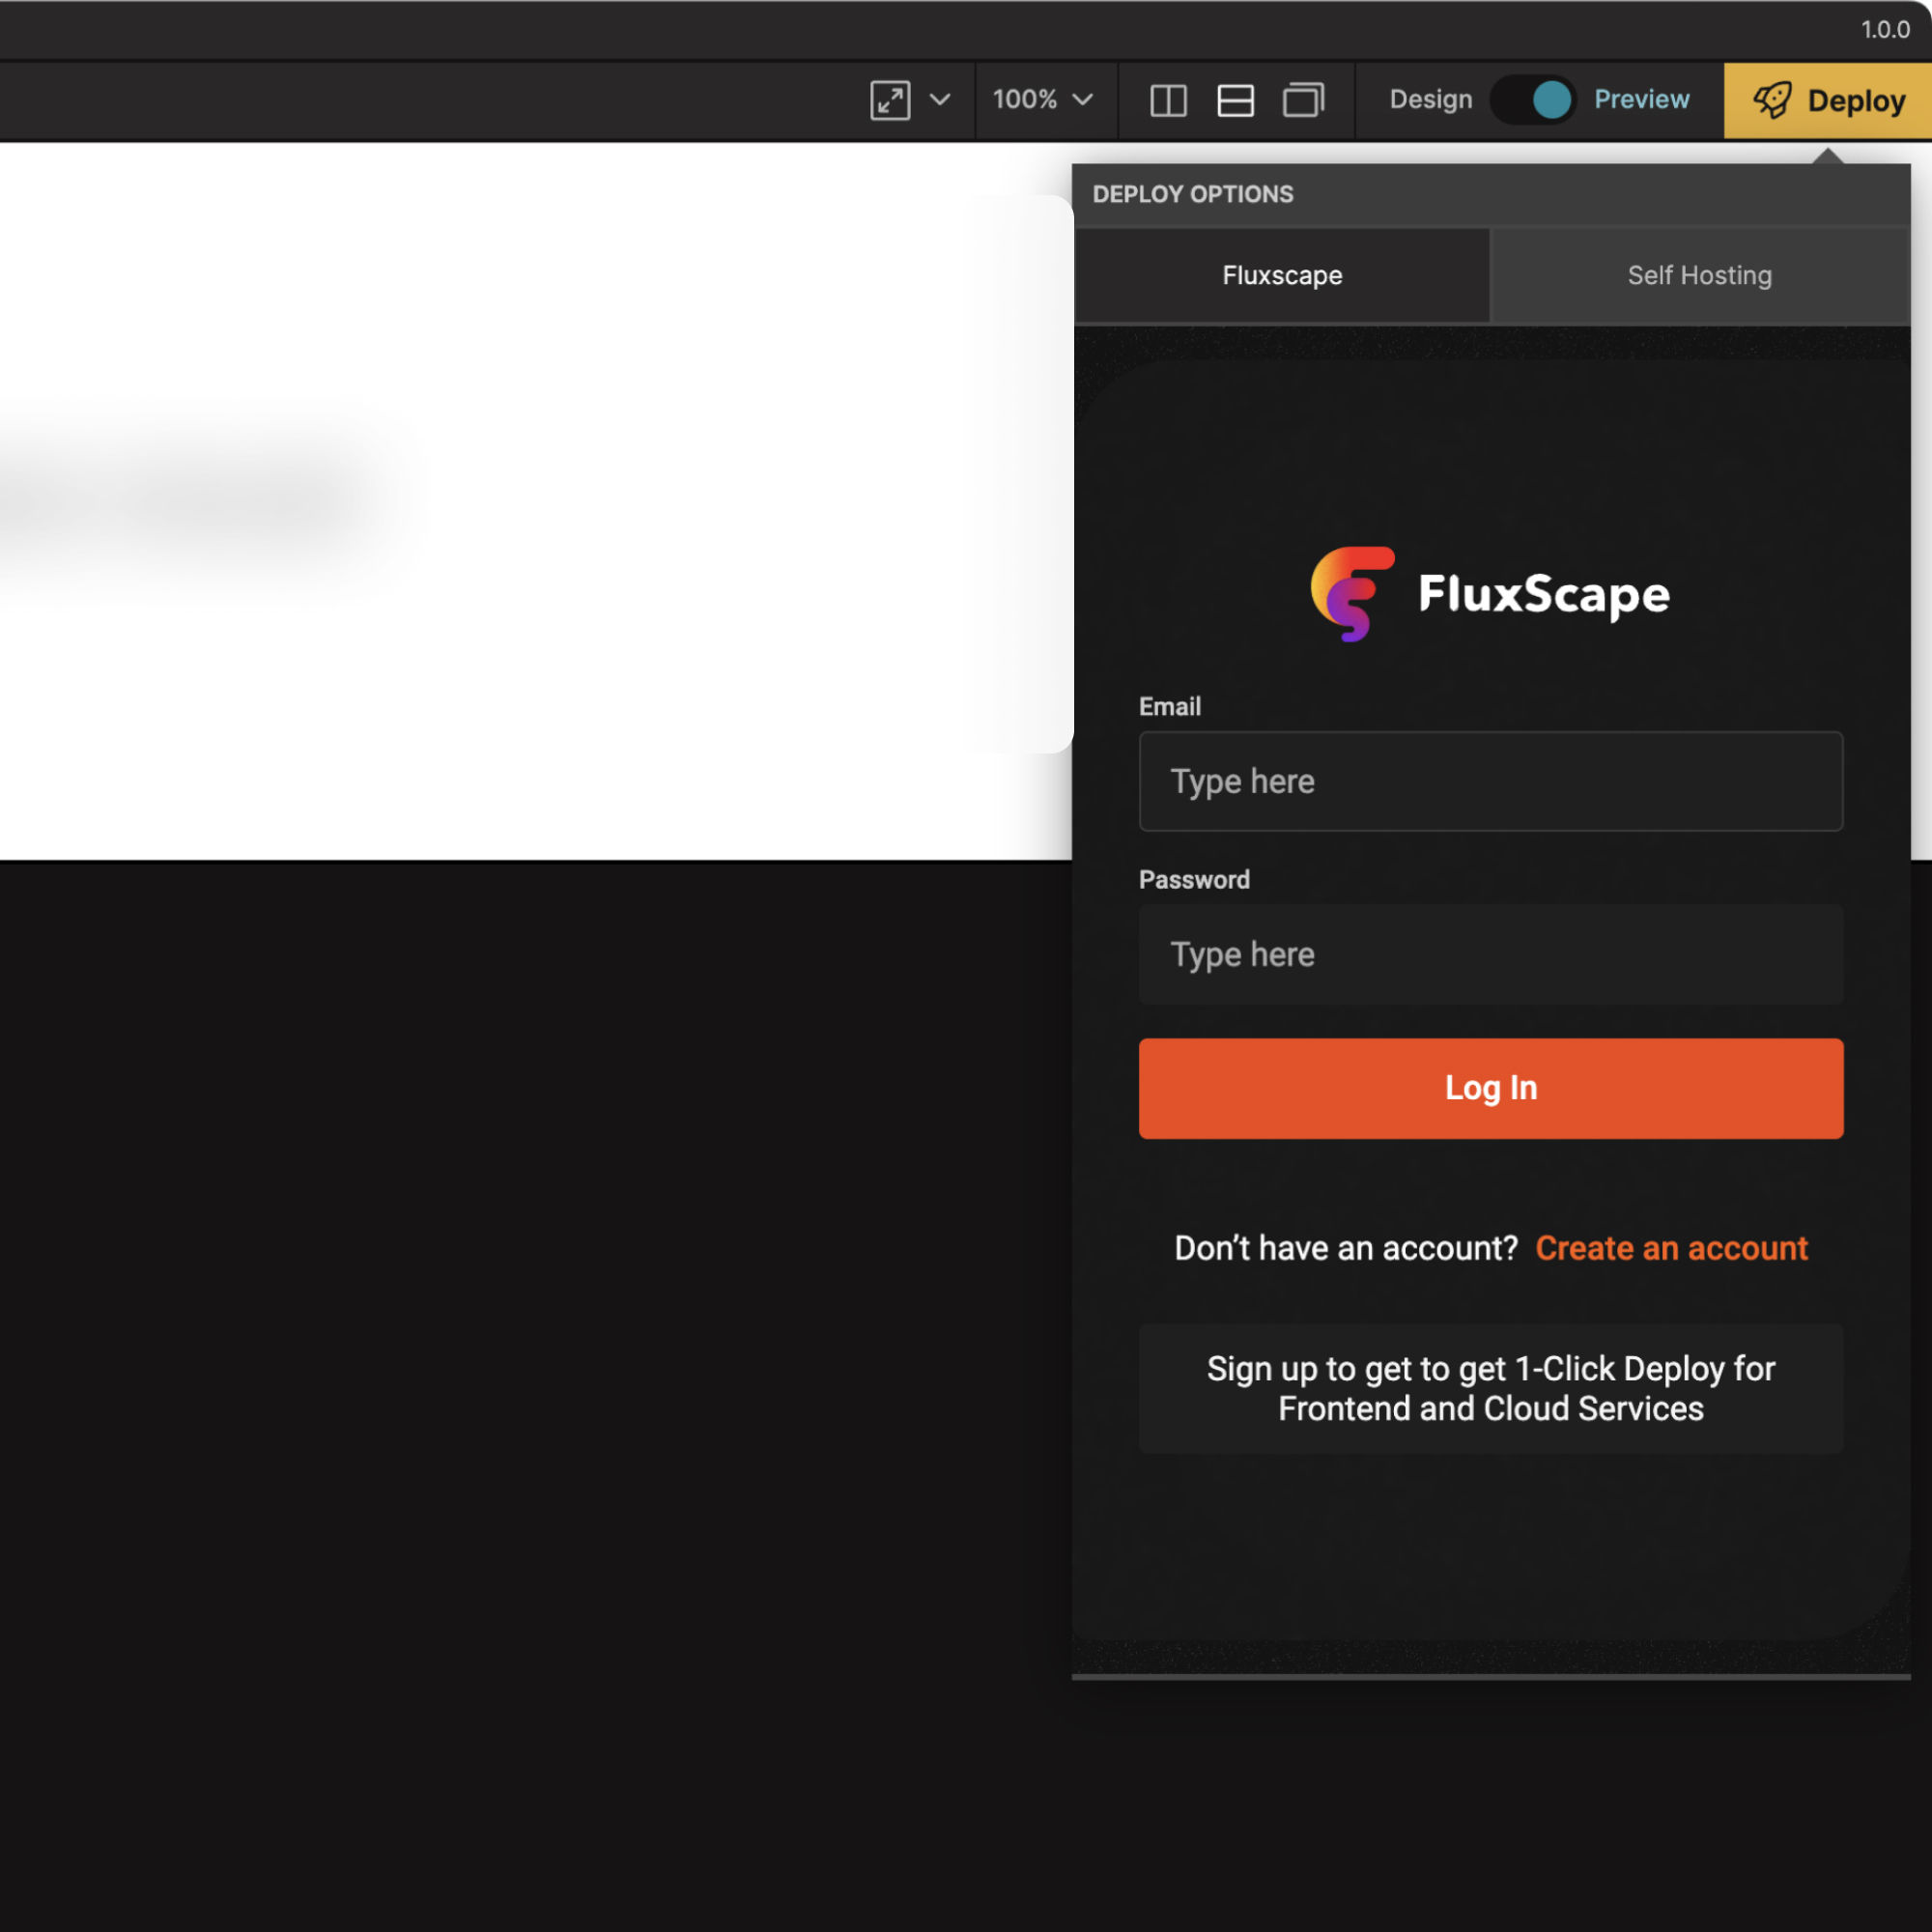
Logging In
If you are not logged in, a login portal will appear.
- Enter your Email and Password.
- Click Log In.
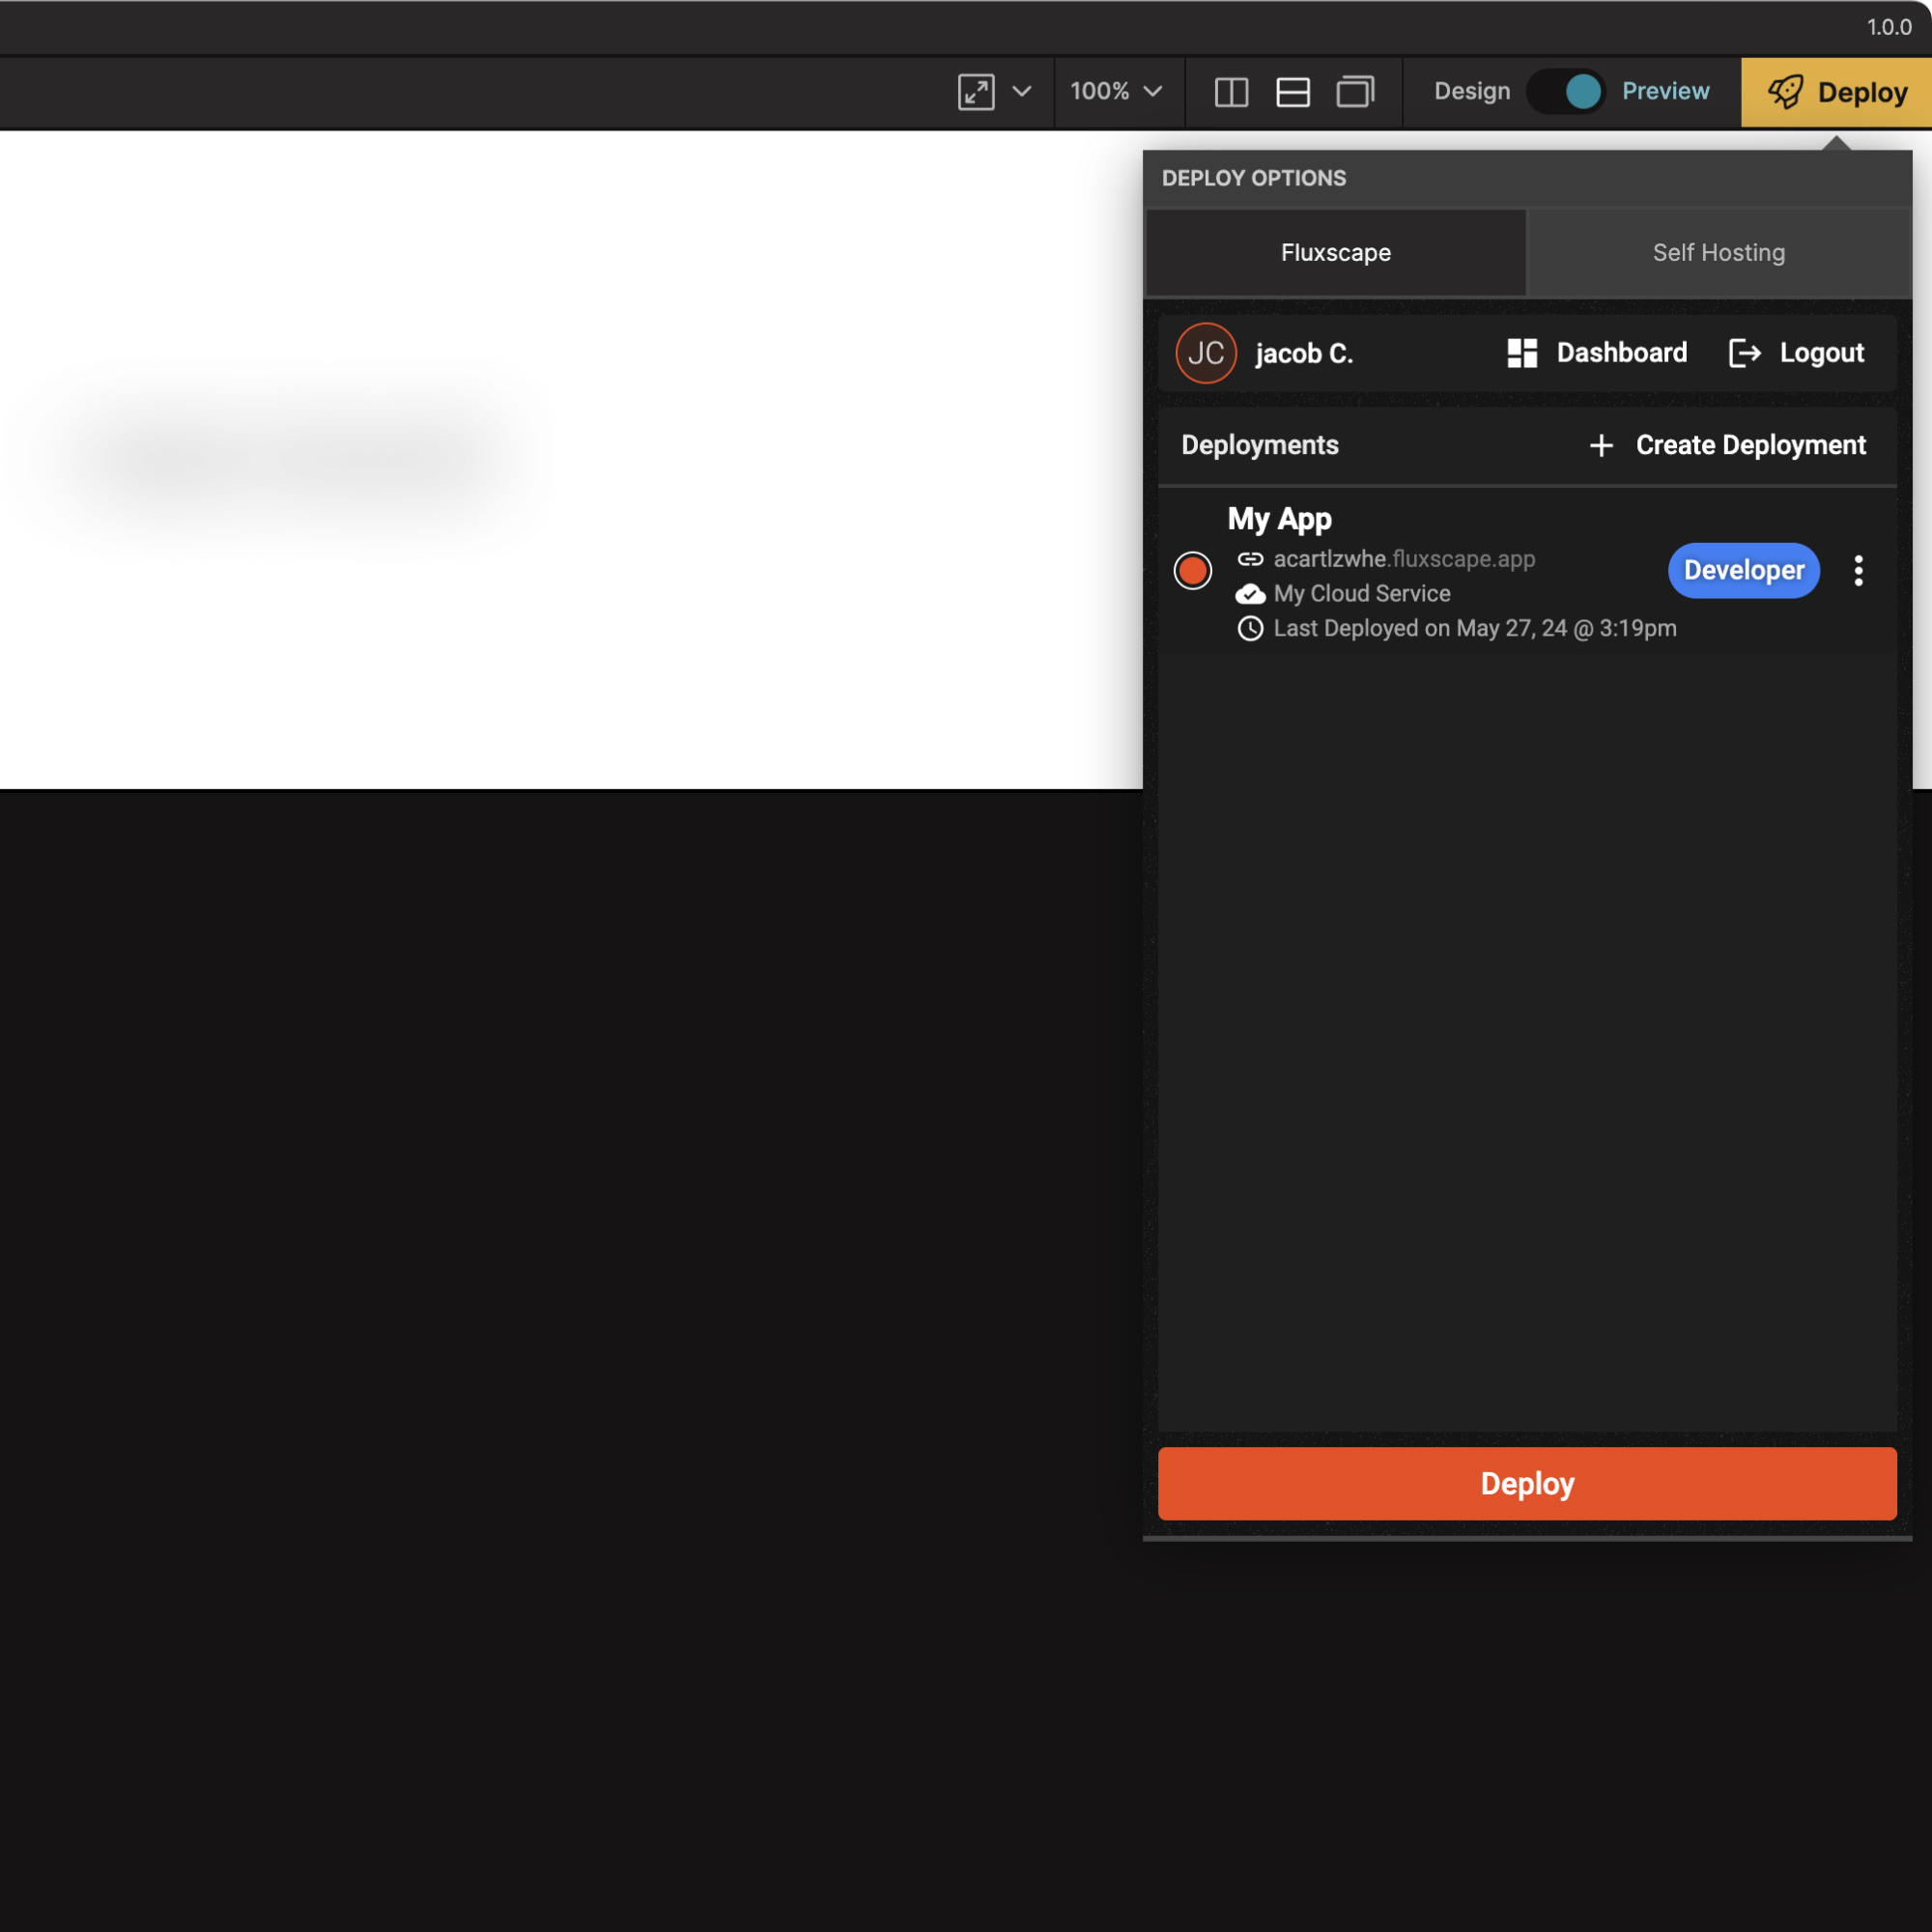
Selecting a Deployment
After logging in, you will see the deployment options.
- Select your deployment from the list.
- Click the Deploy button at the bottom.
Completing the Deployment
Once you click the Deploy button, Fluxscape will start deploying your frontend and backend services.